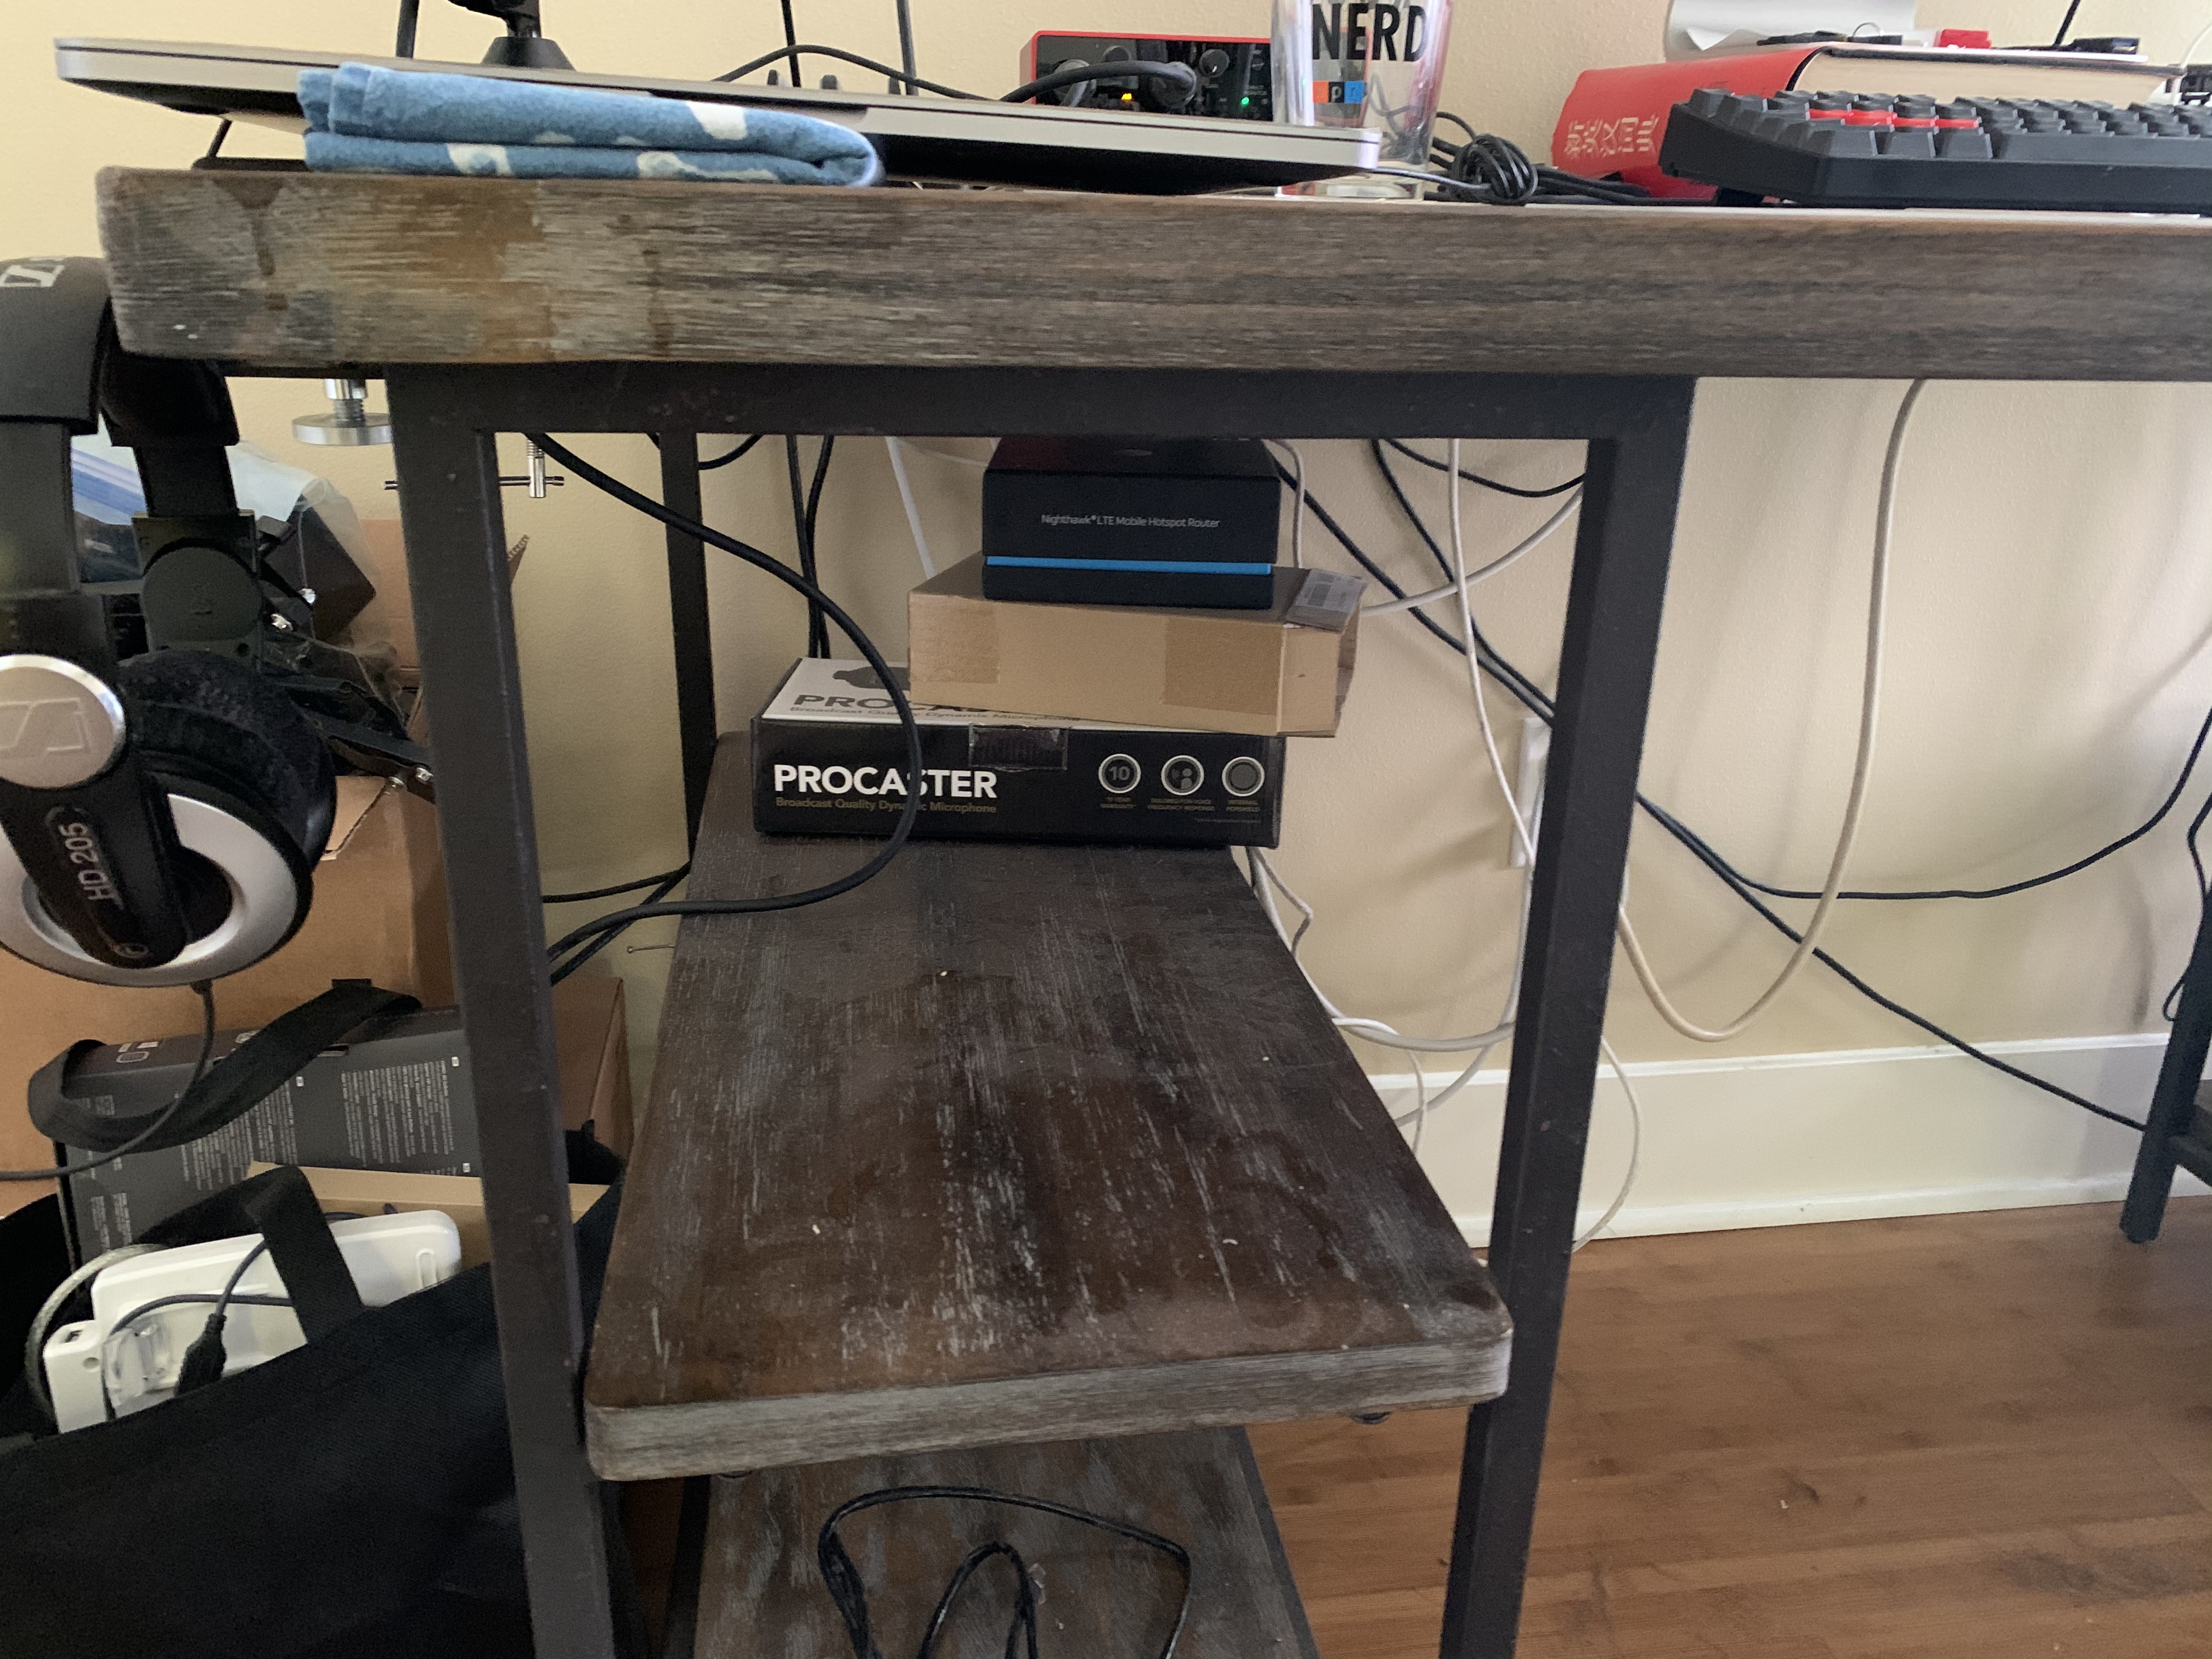
Making Desk Drawers
I wanted to make some drawers for my desk. I’ve got a laser cutter, so of course I made this into a laser cutter project.
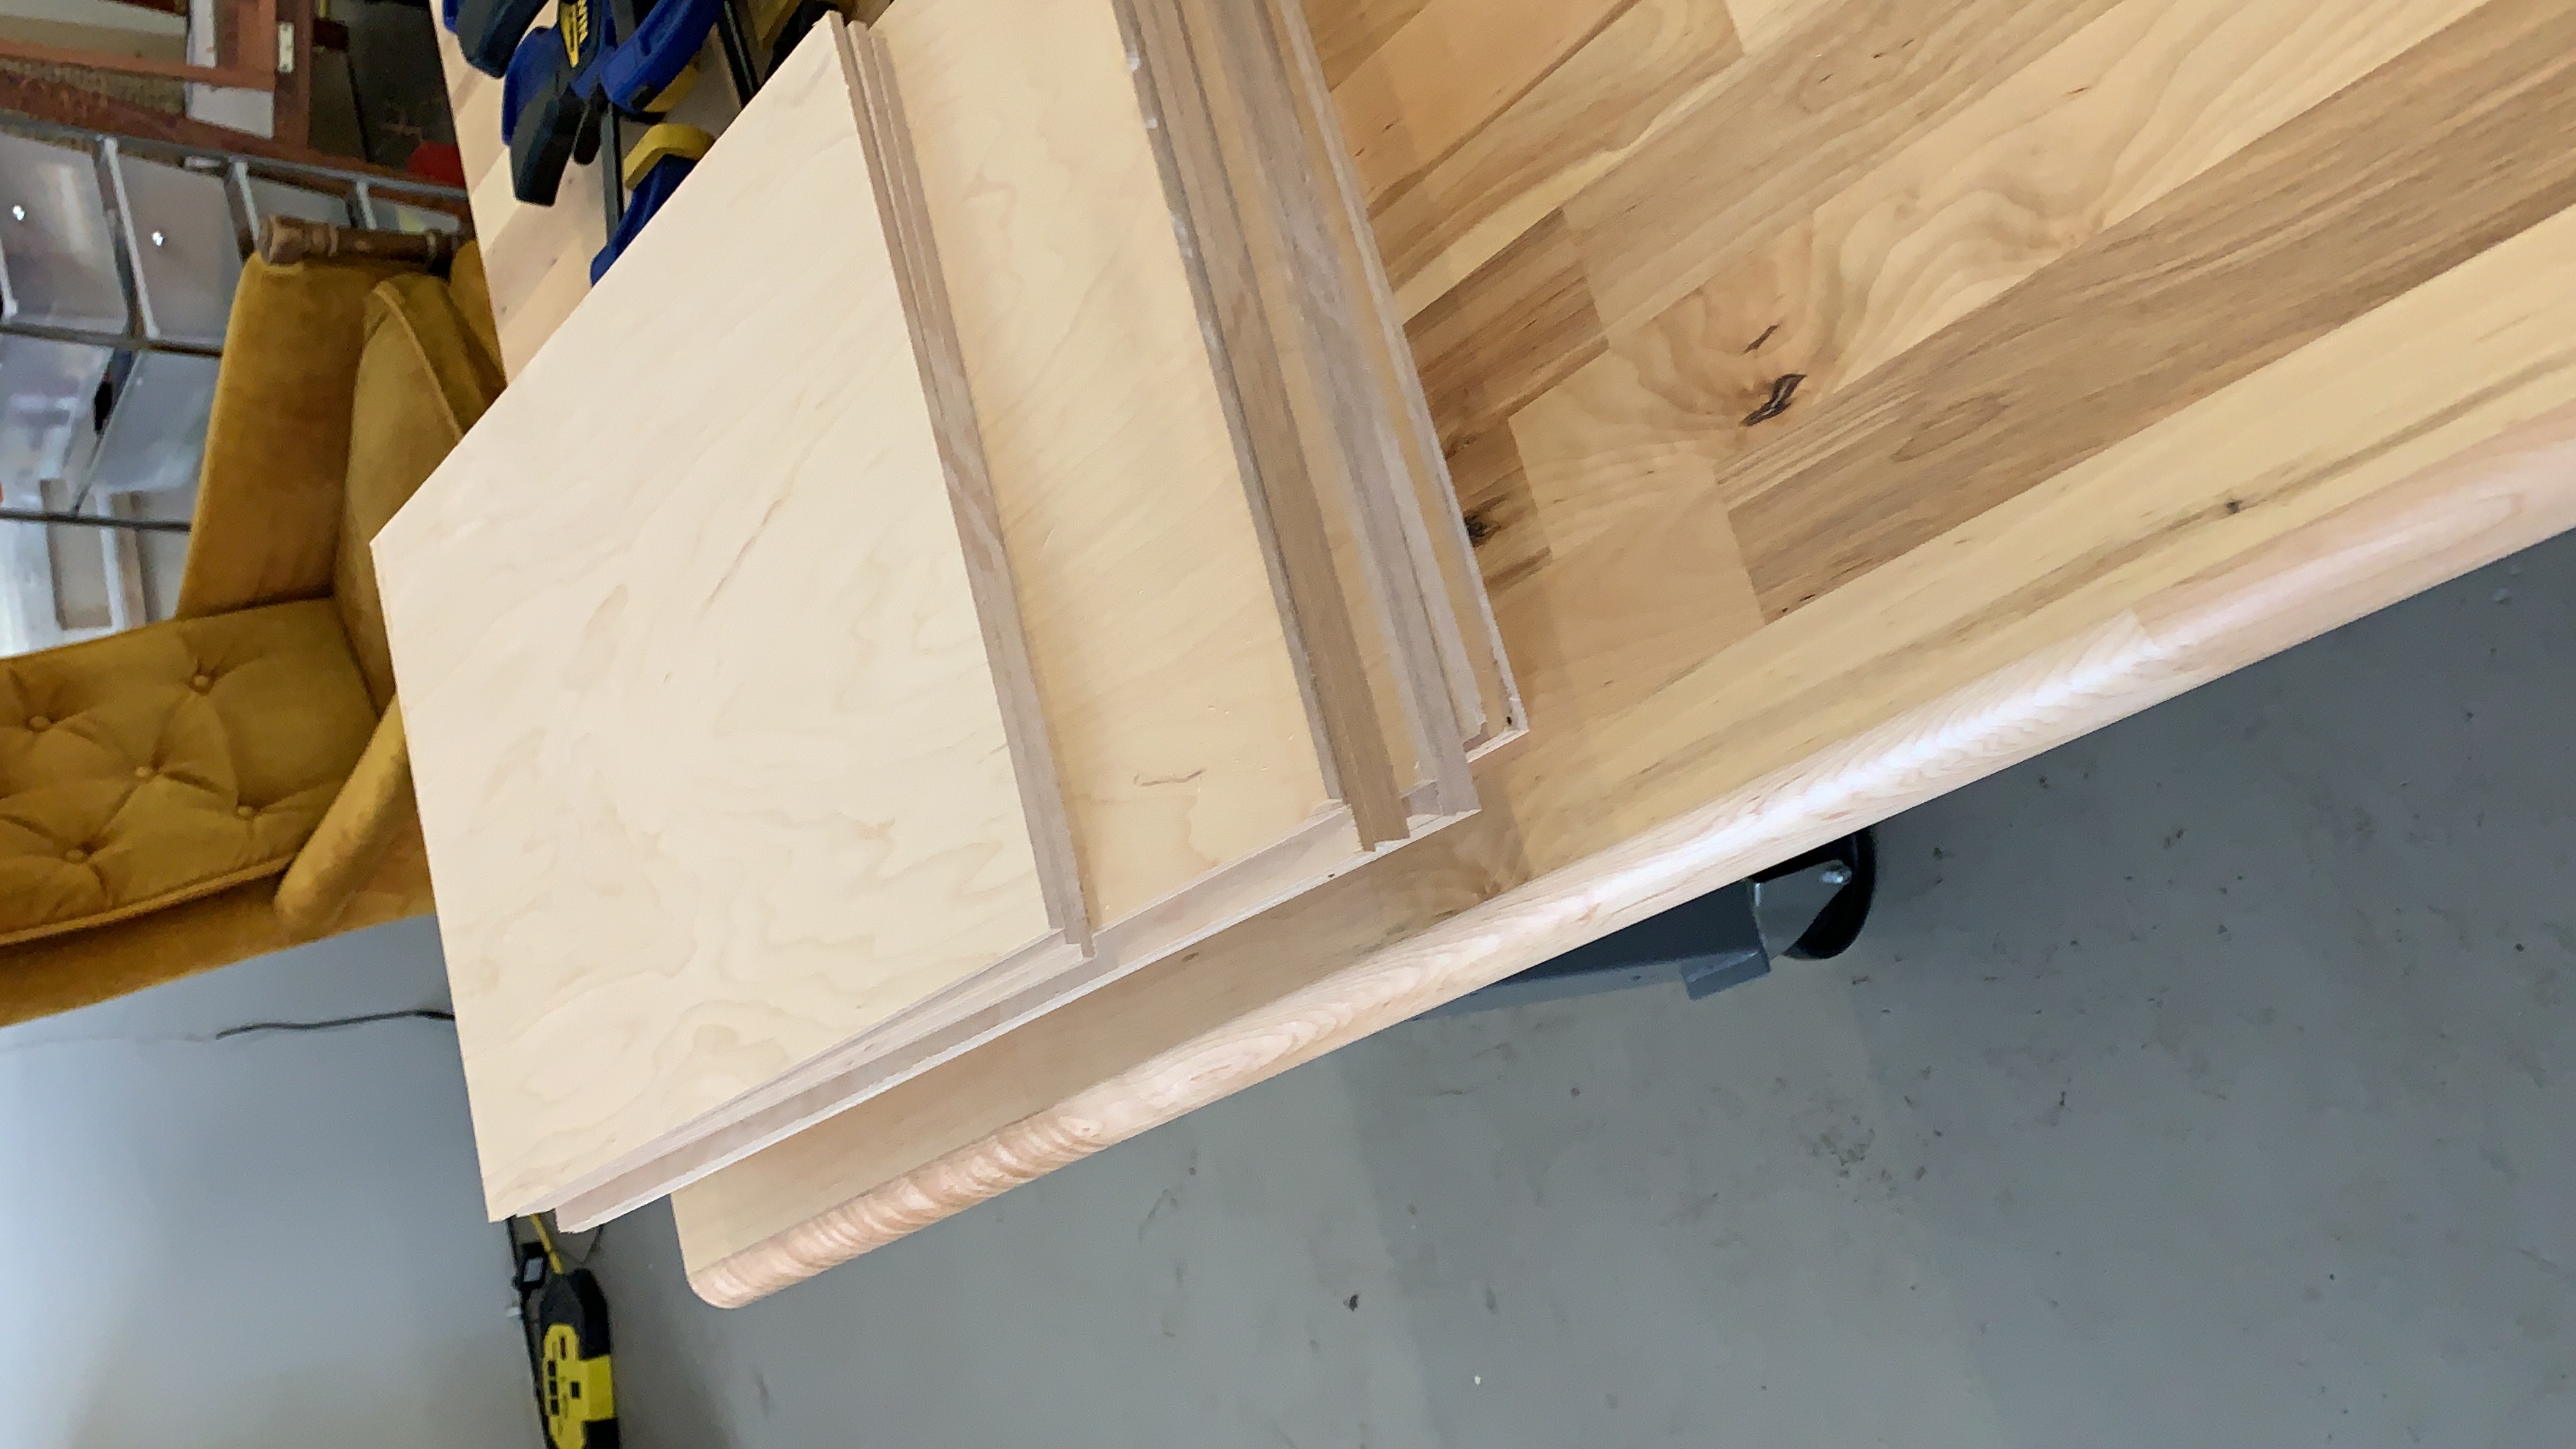
I started by getting some 5.2mm thick A1 grade maple plywood from the good lumberyard in town. The folks at Dunn Lumber were really nice and for just $2 extra kindly cut the 4’x8’ sheet of plywood down to 12"x20" sheets that will fit in my laser cutter.
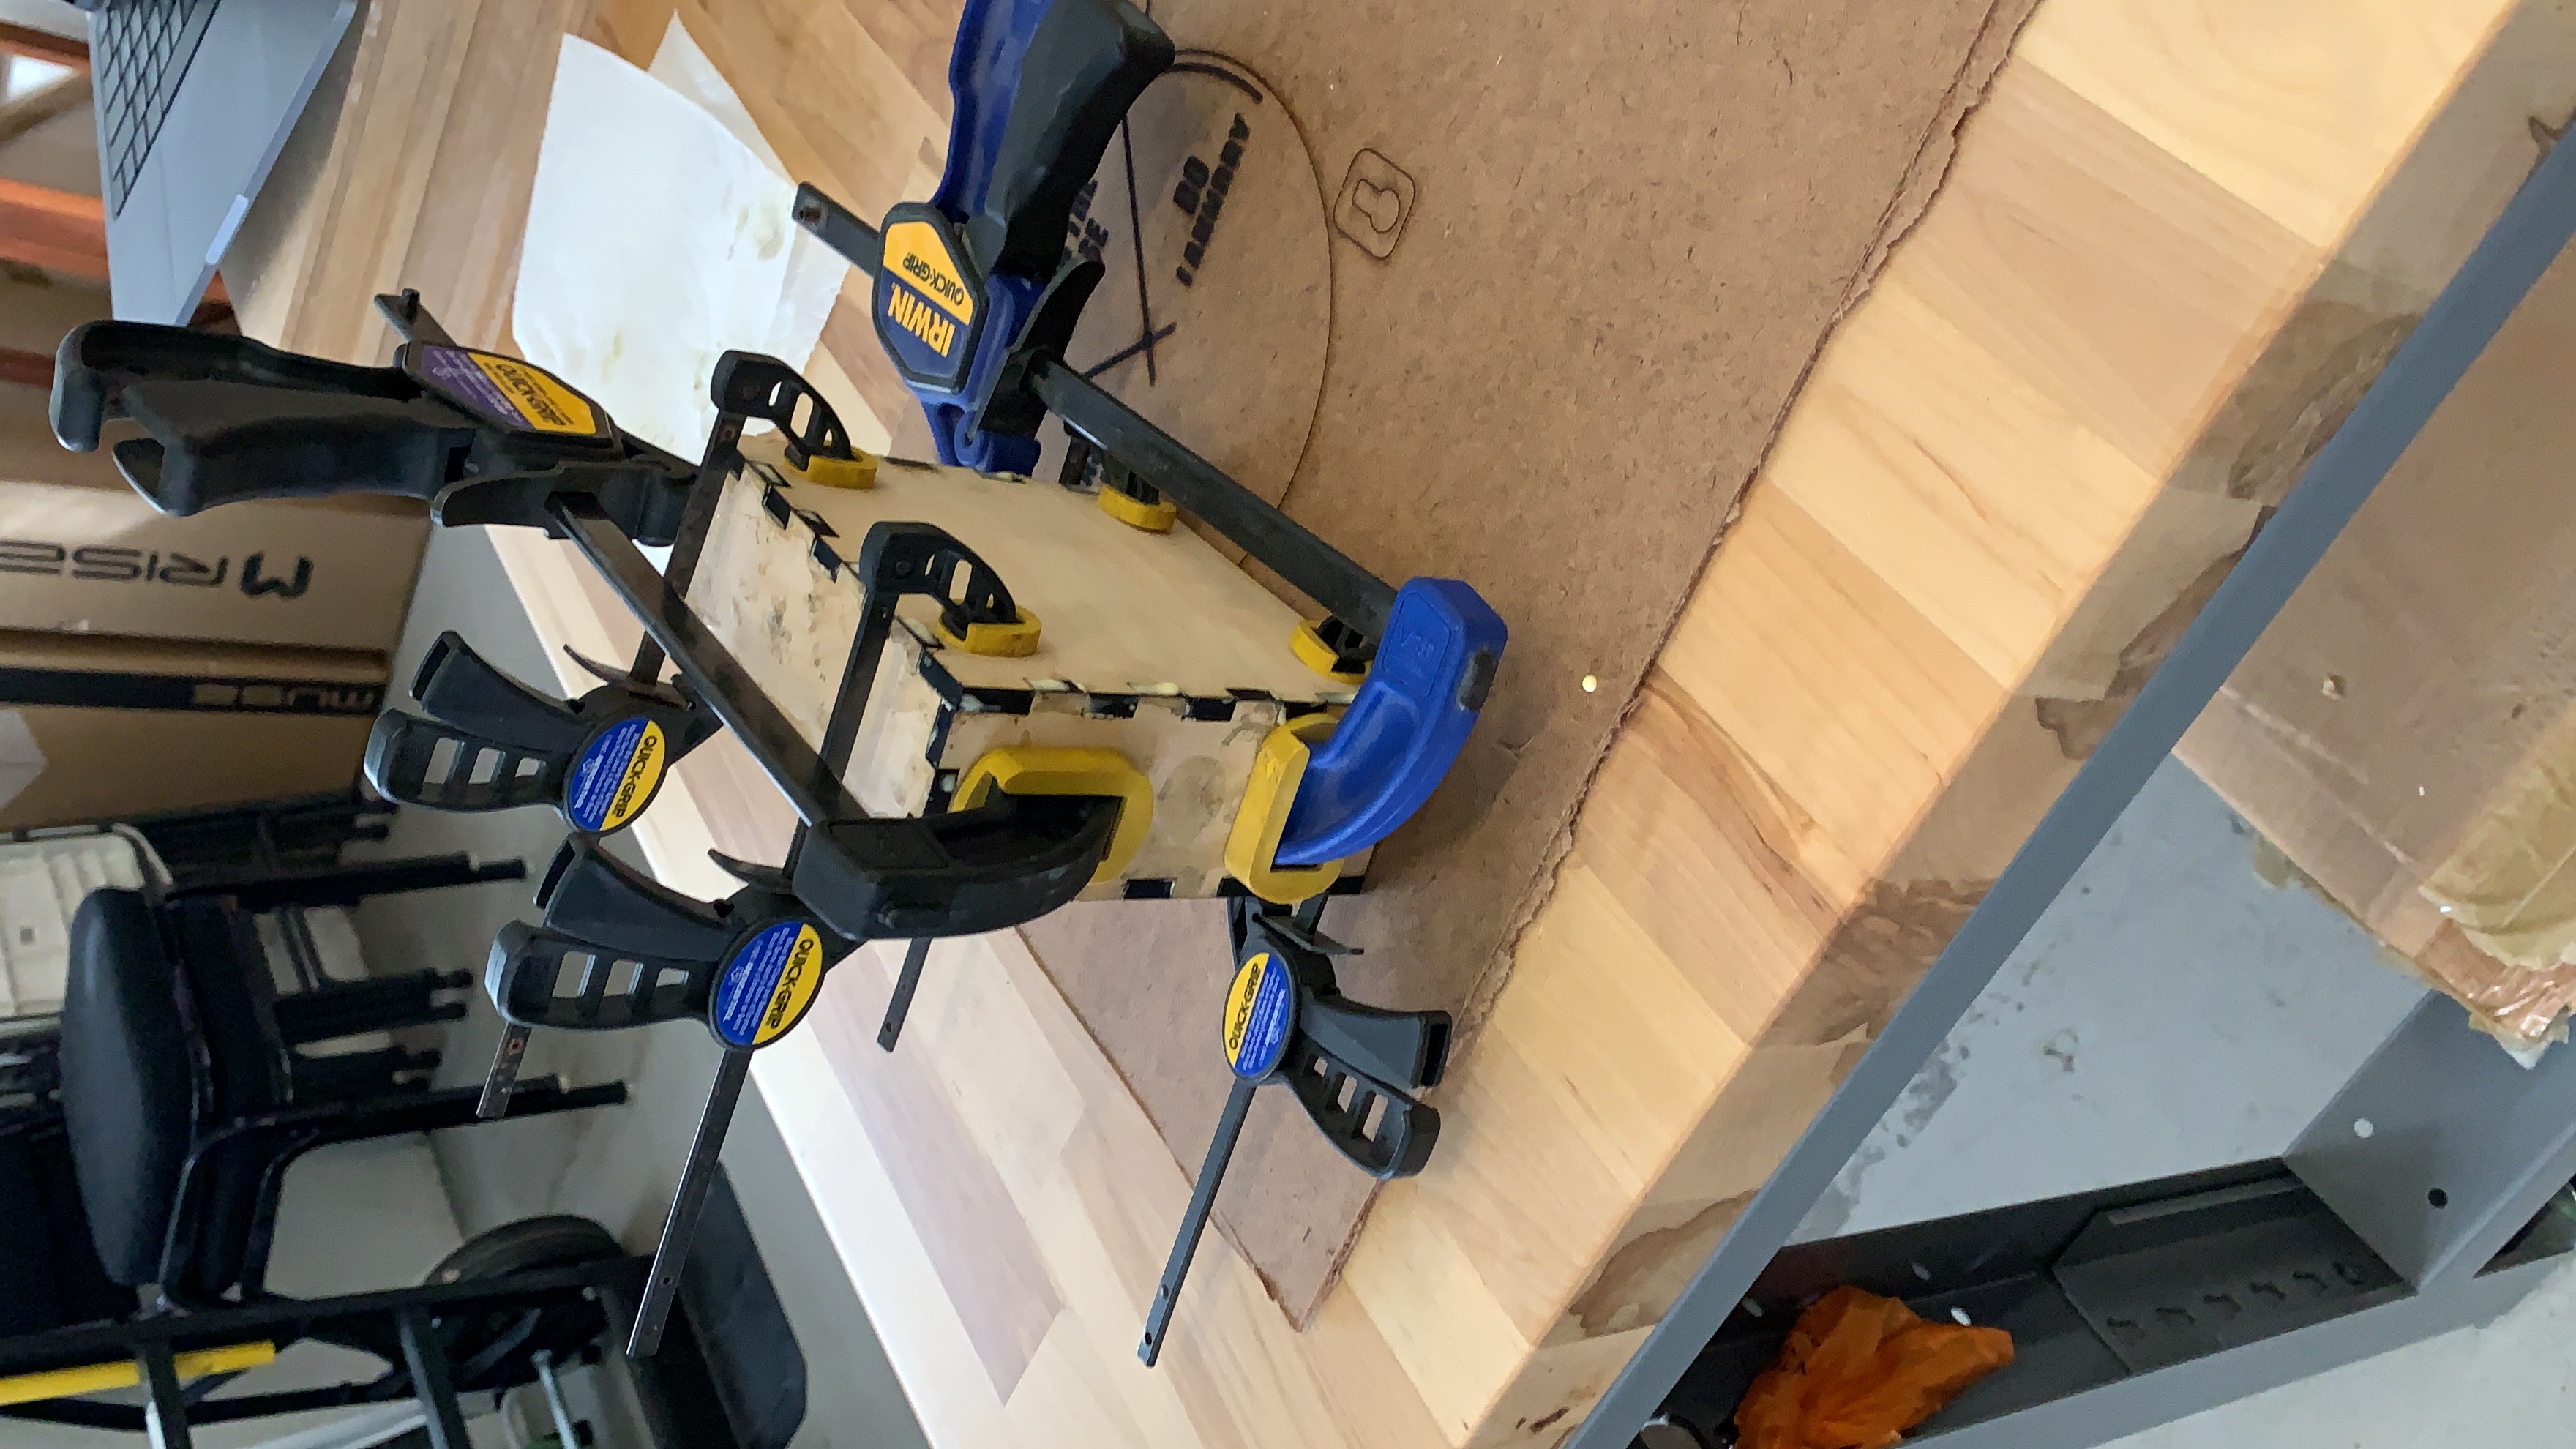
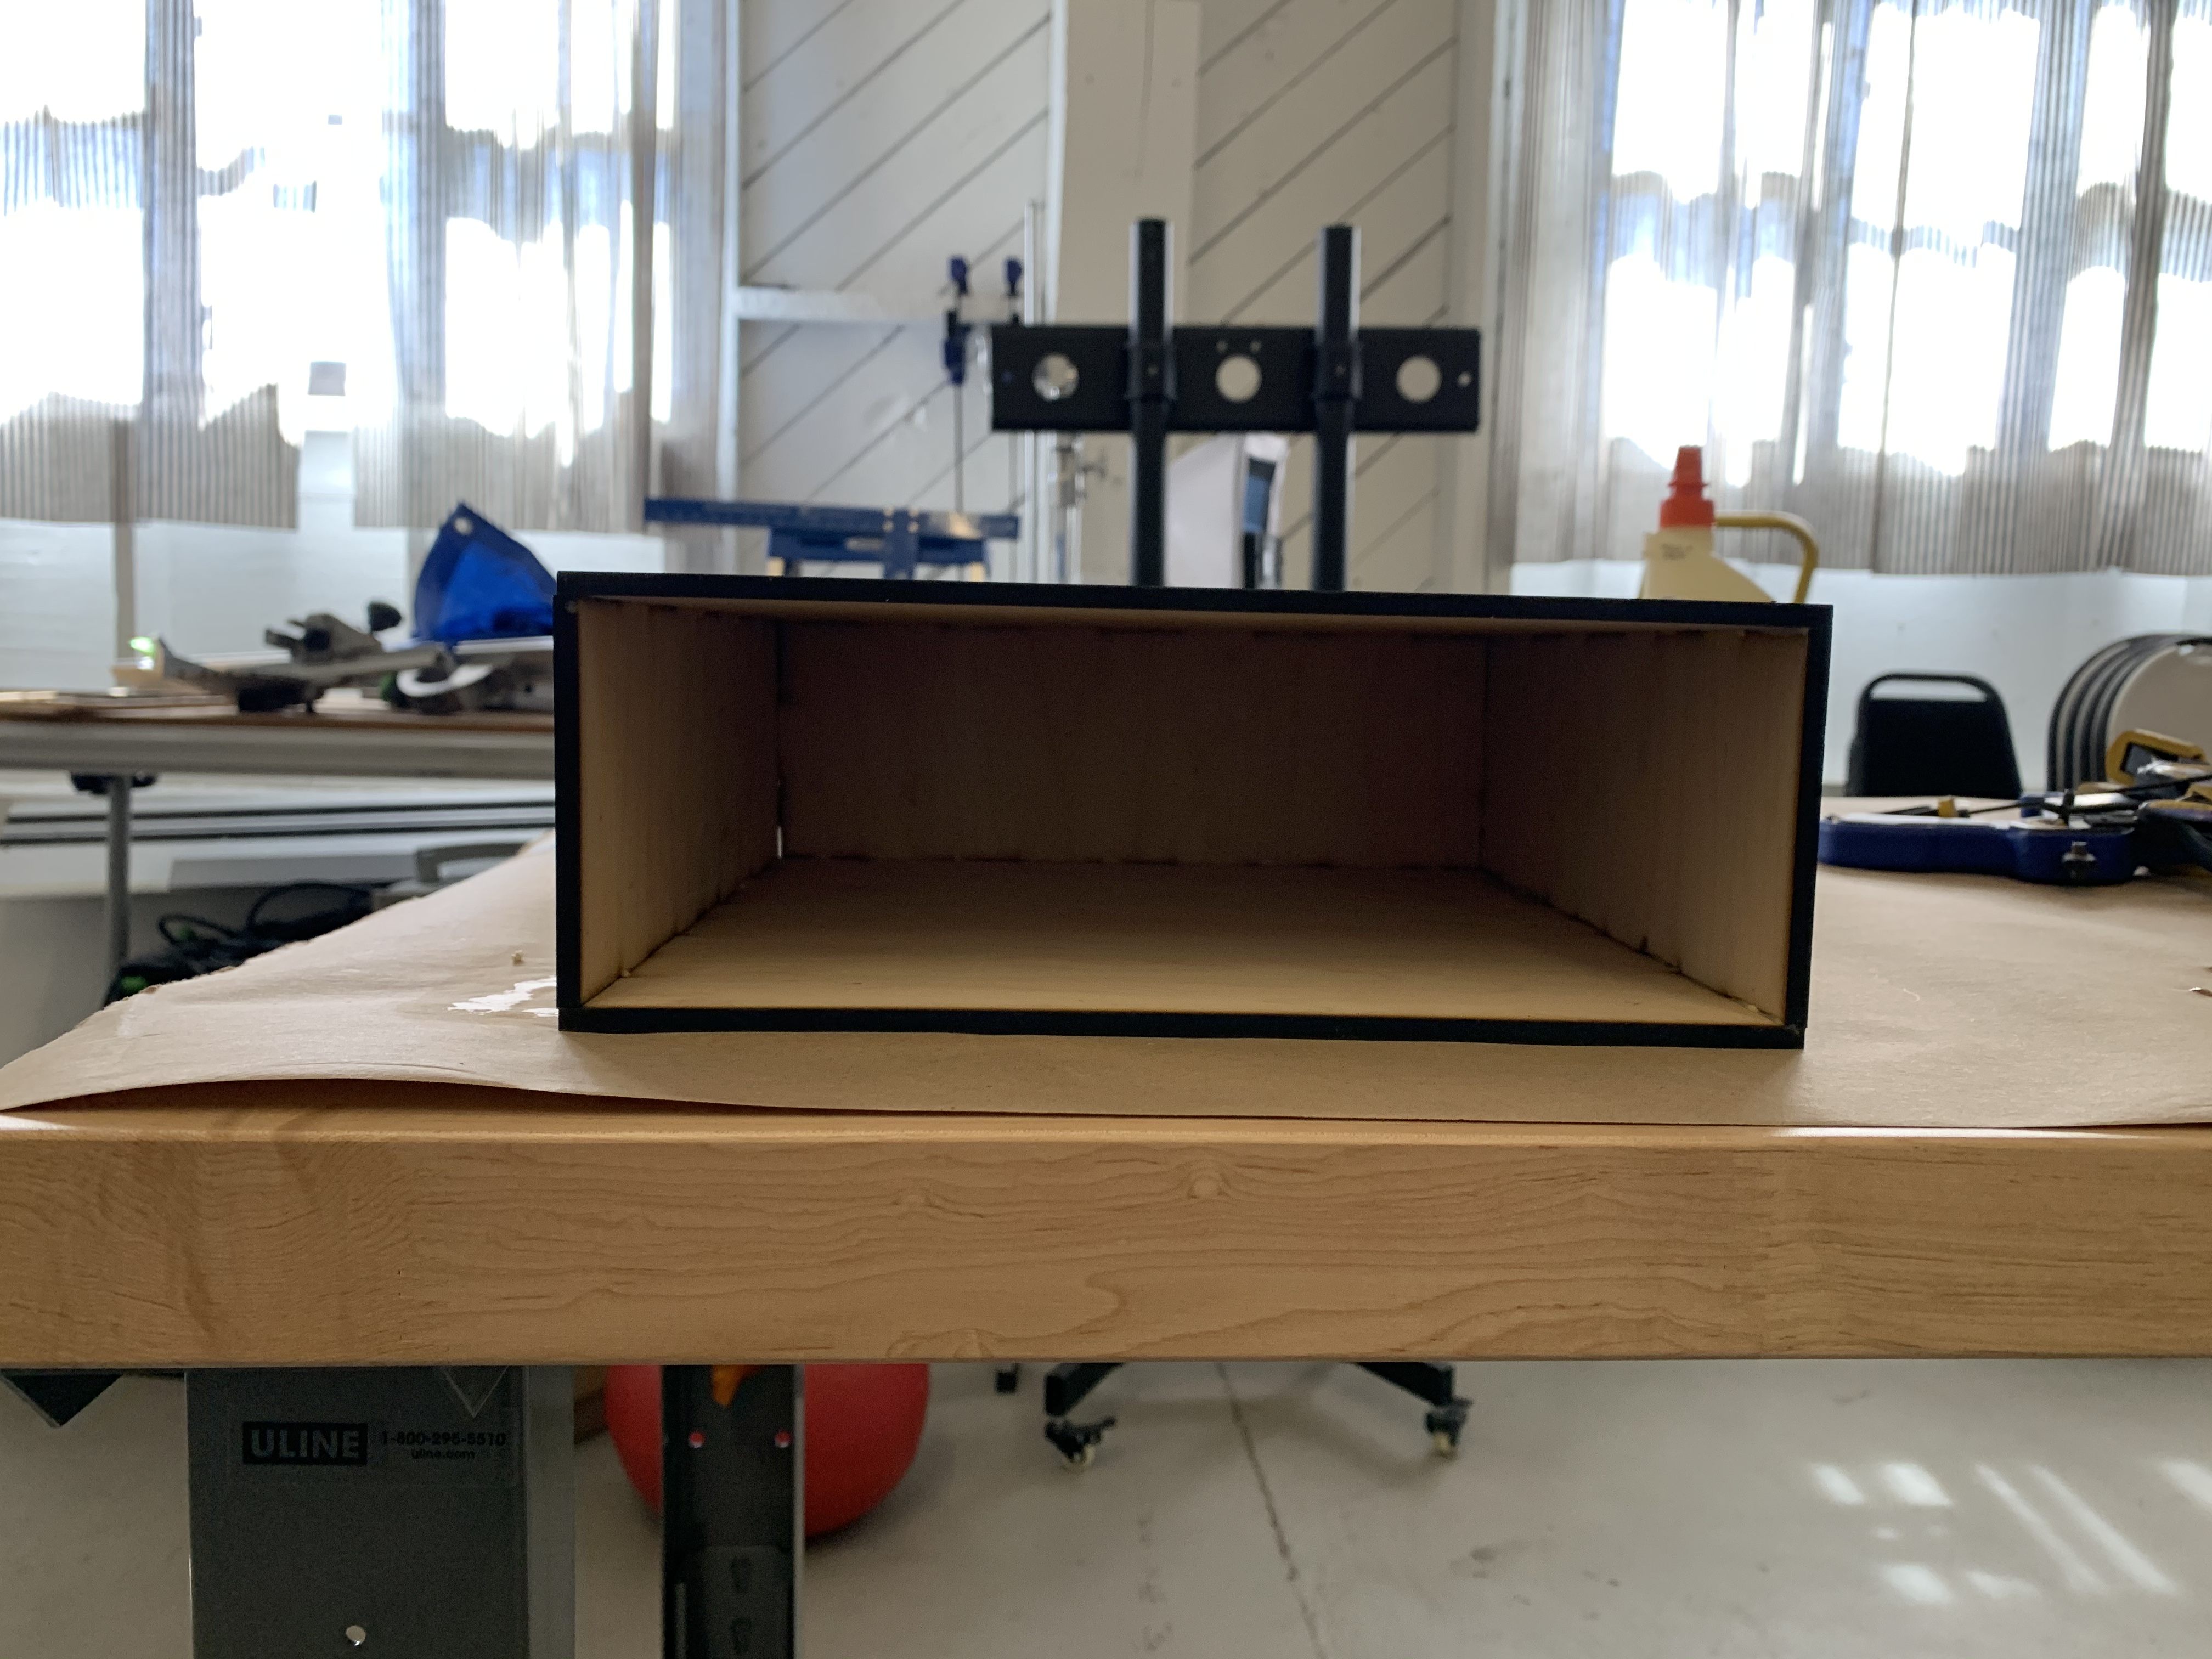
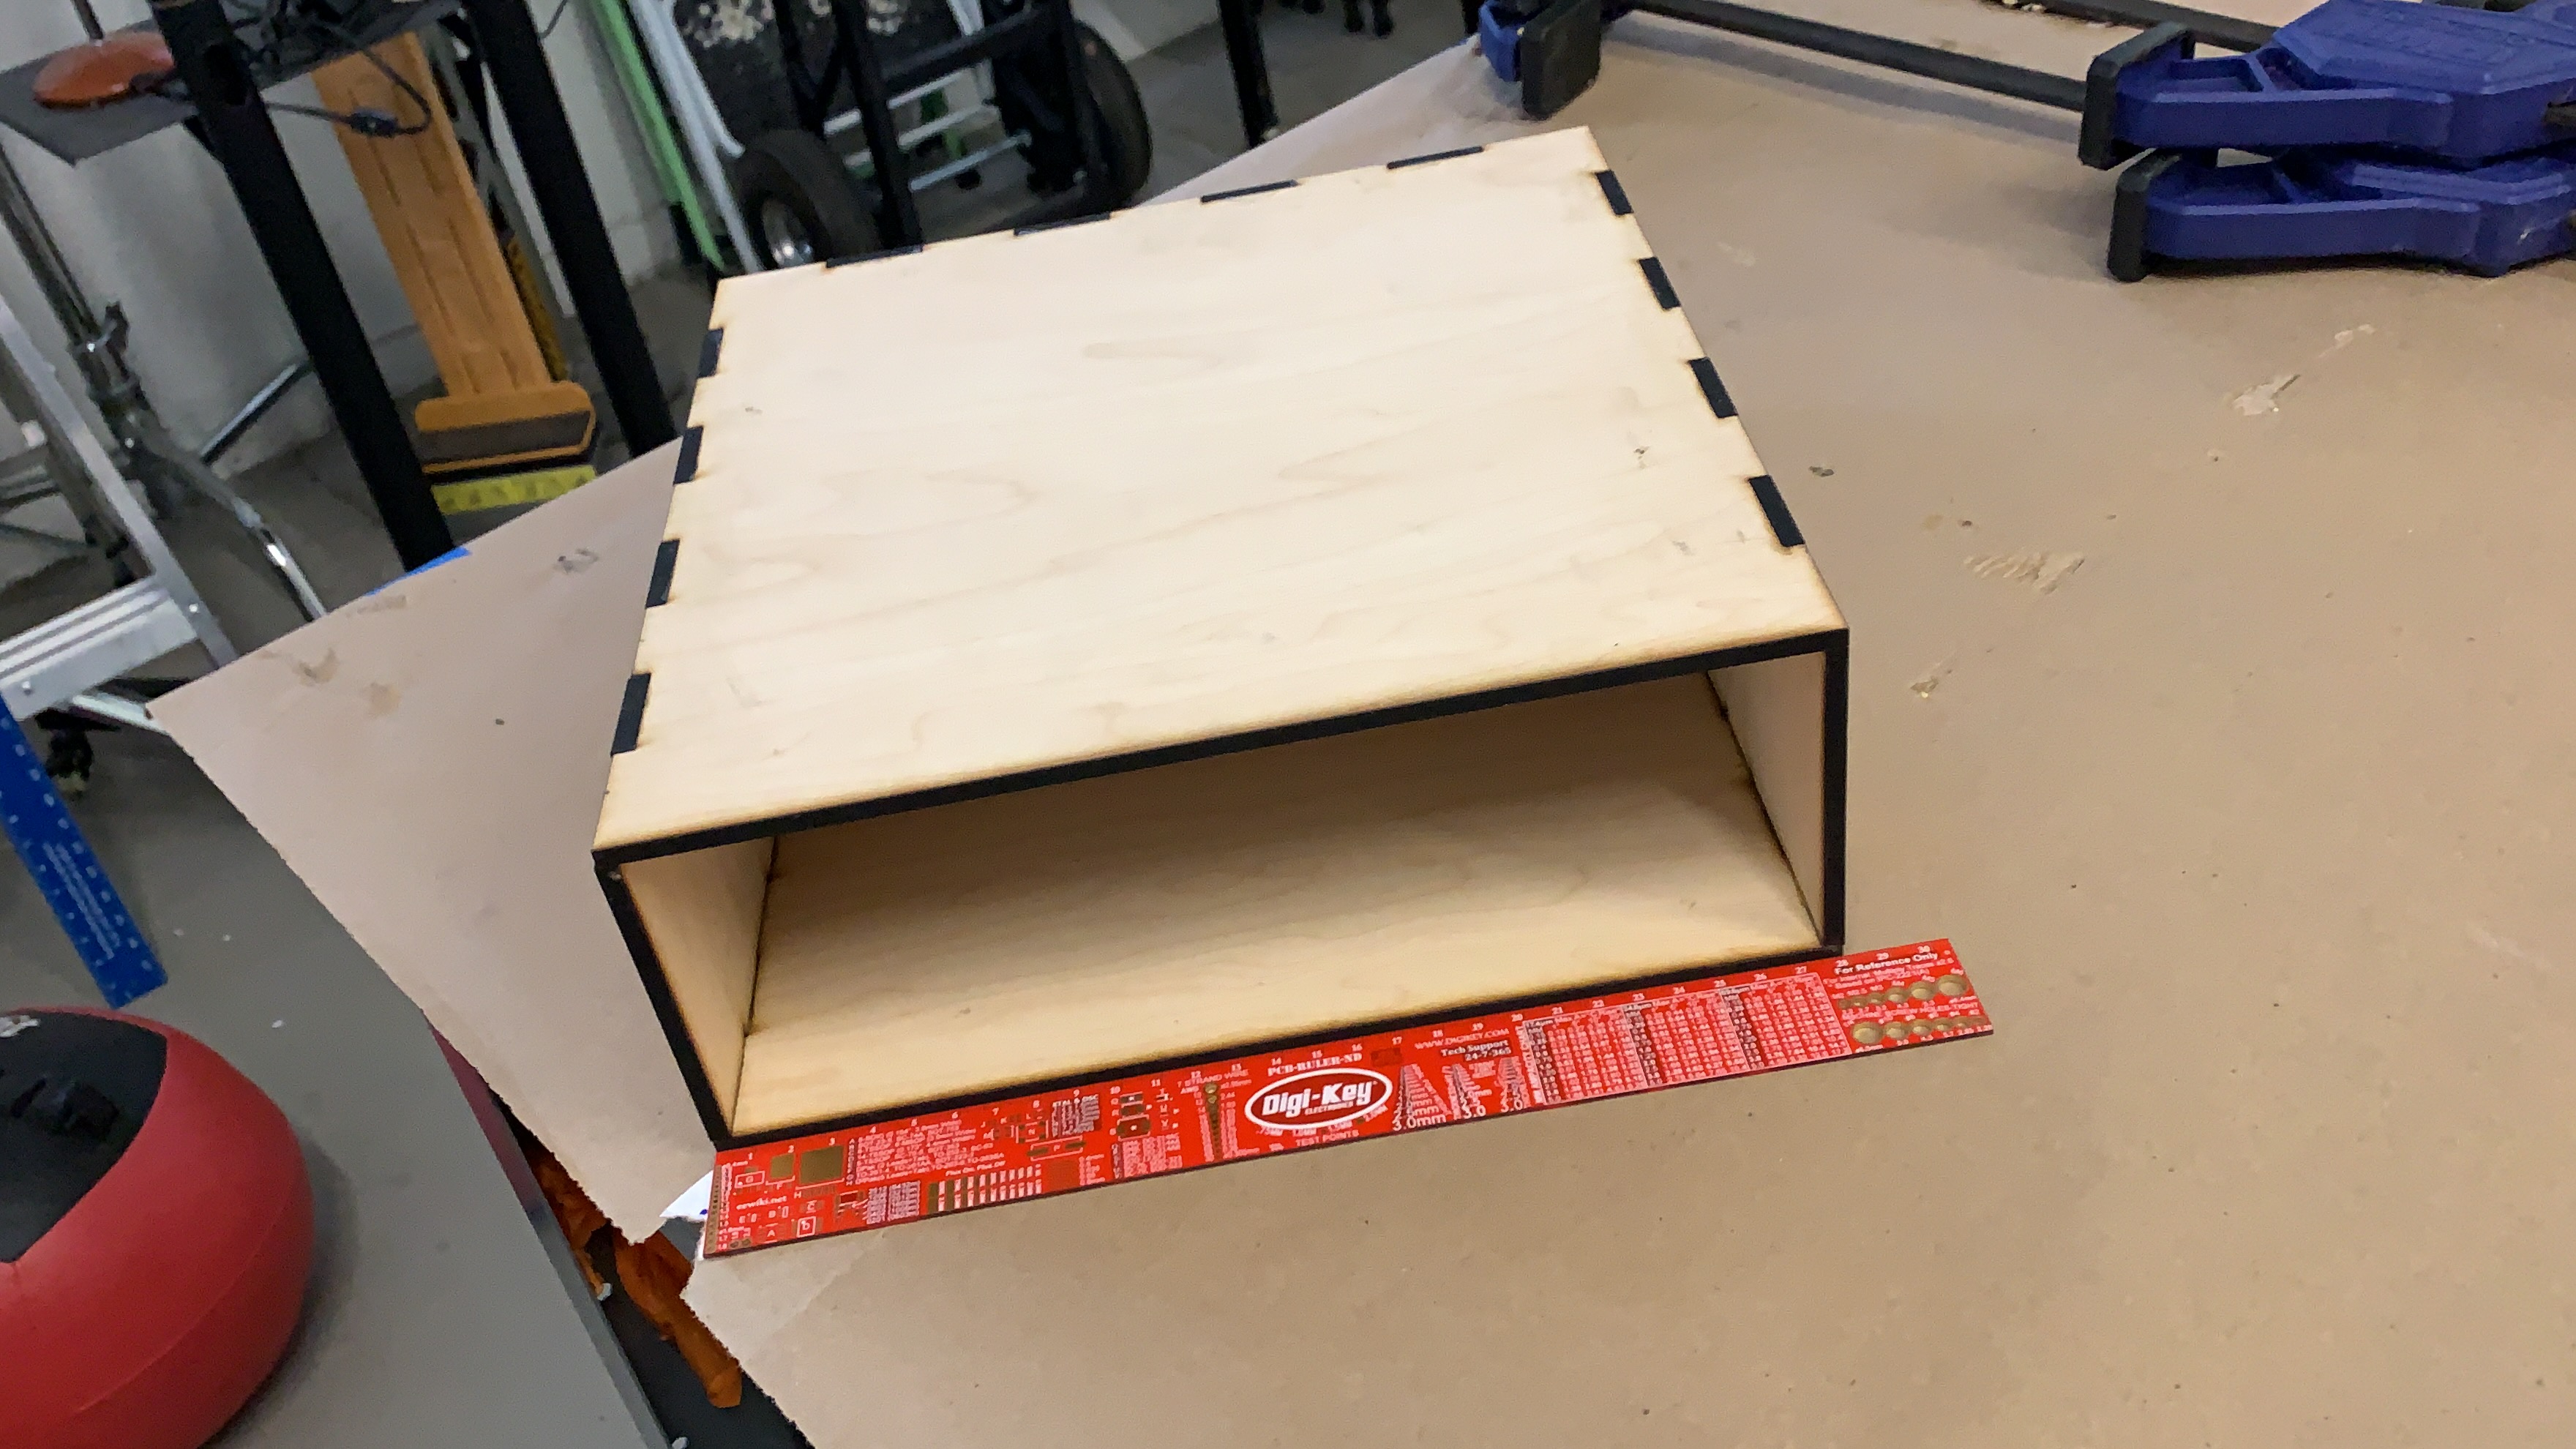
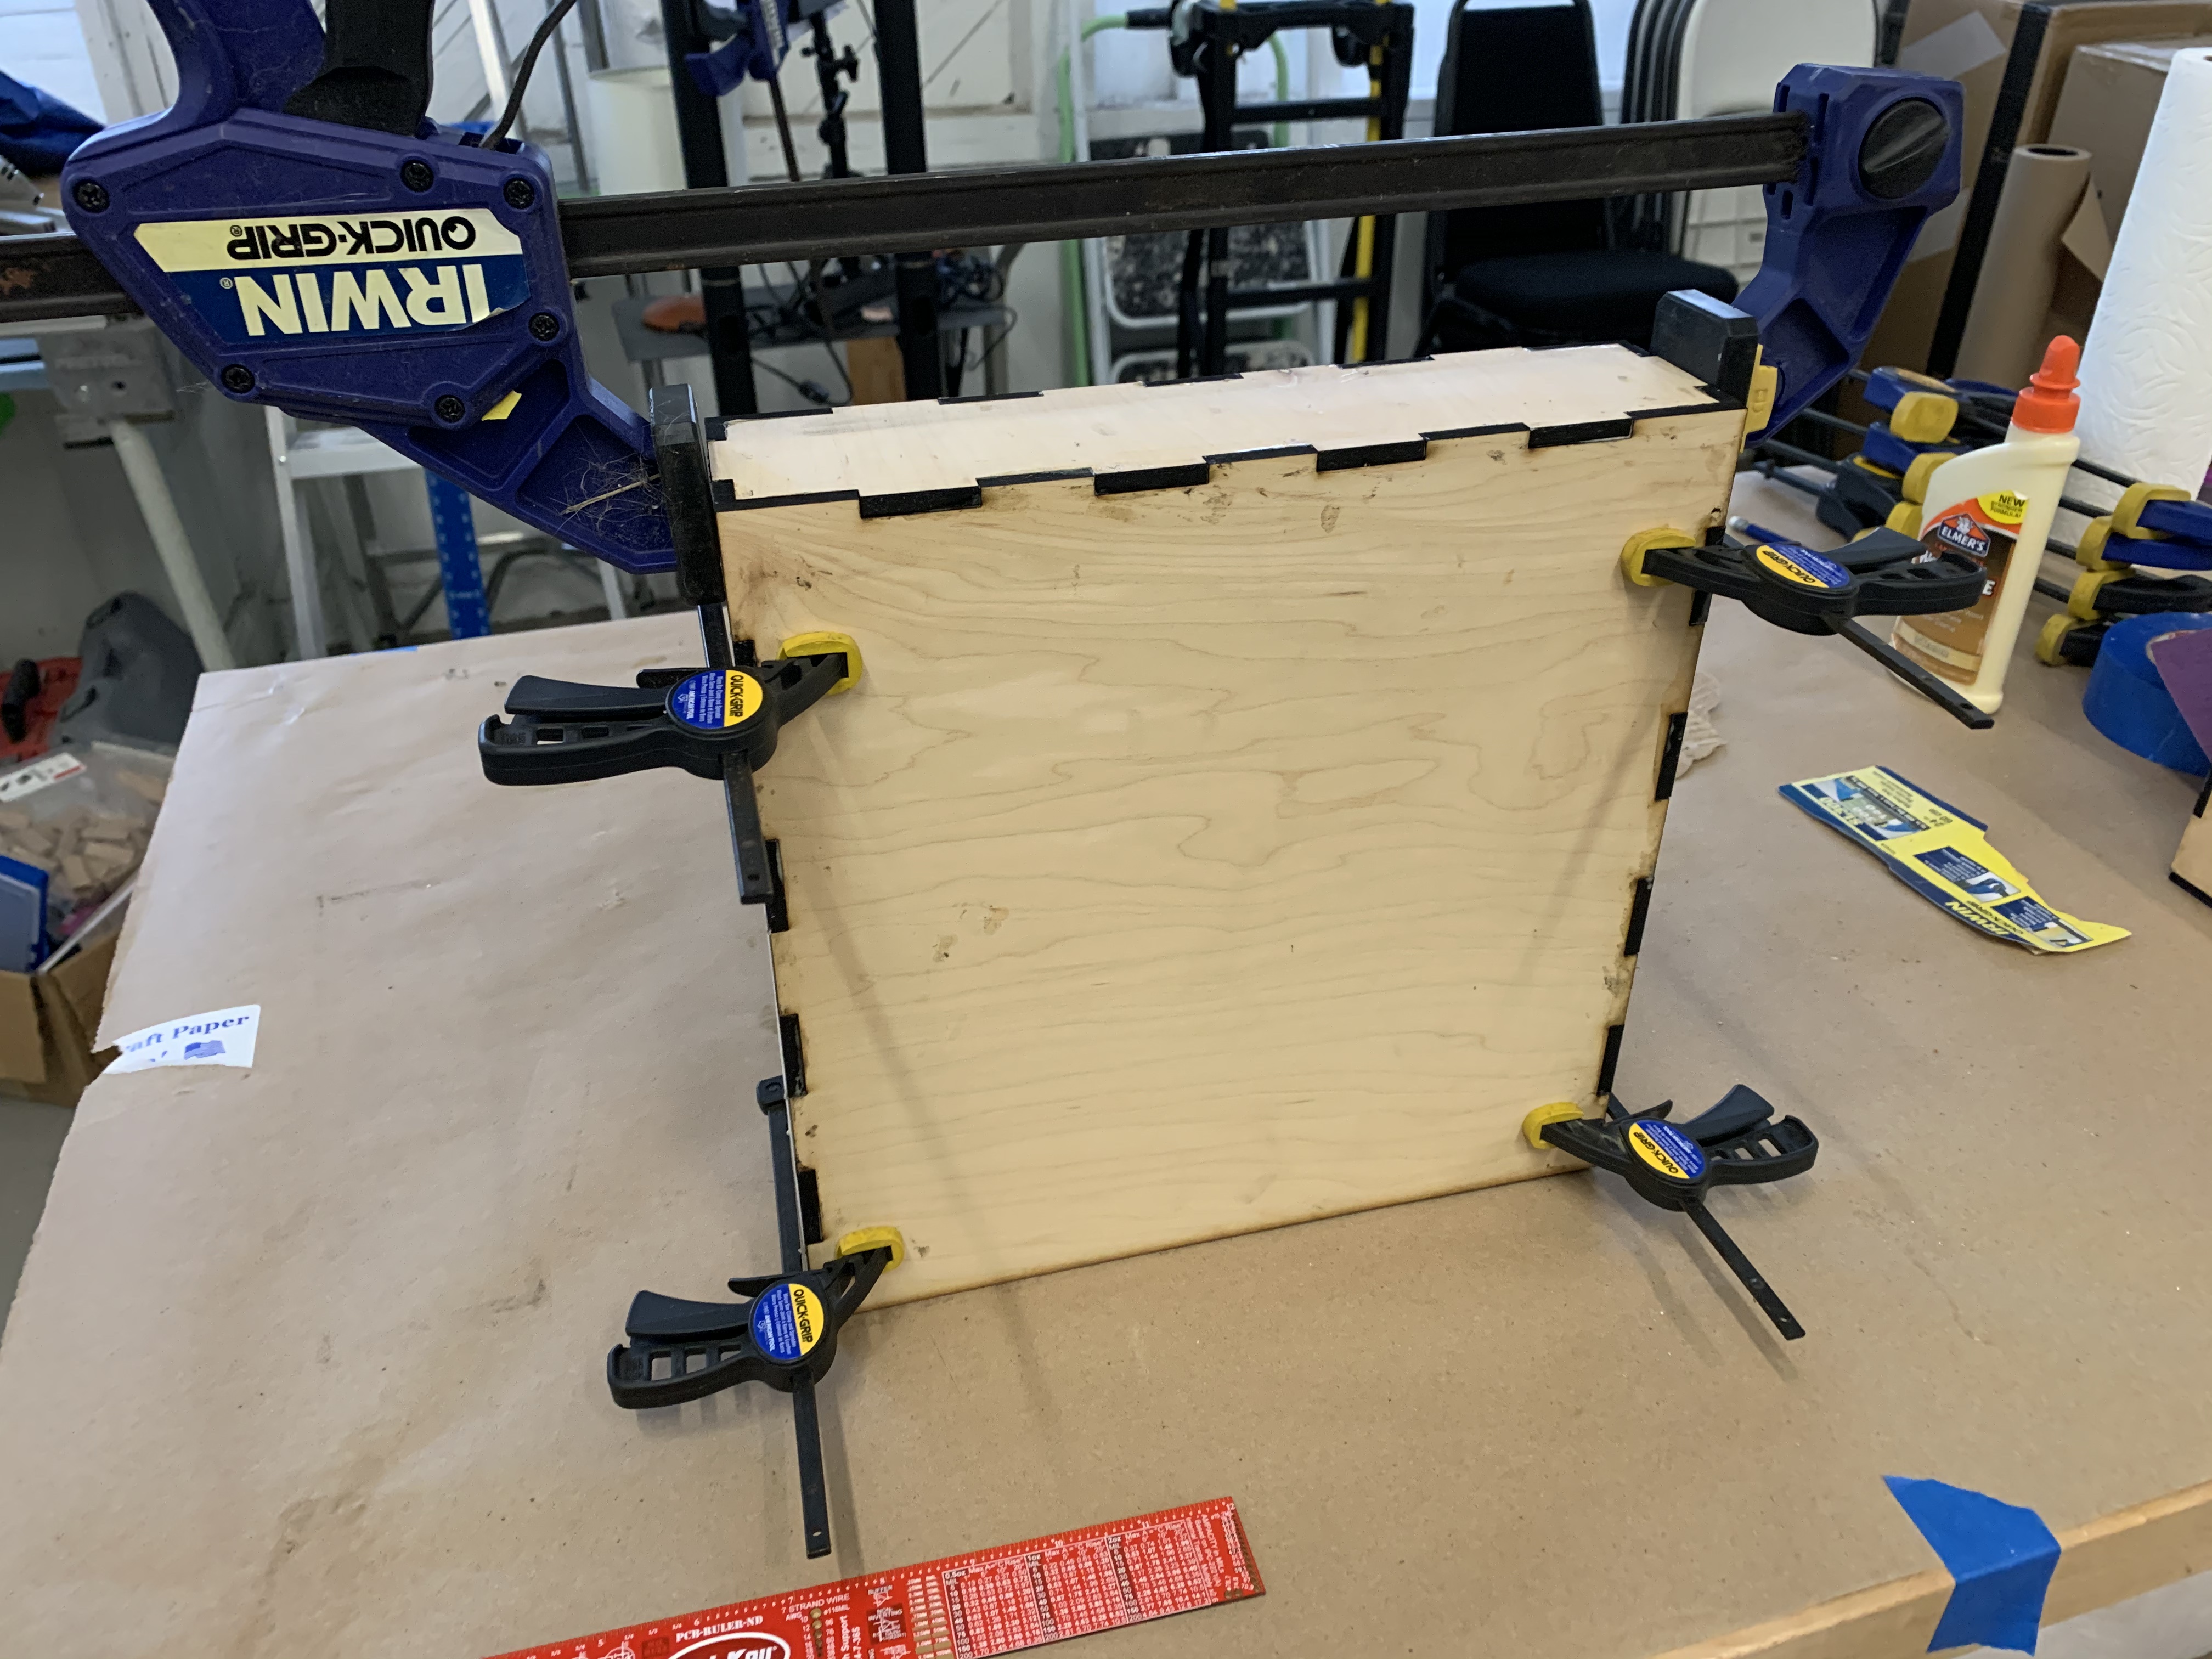
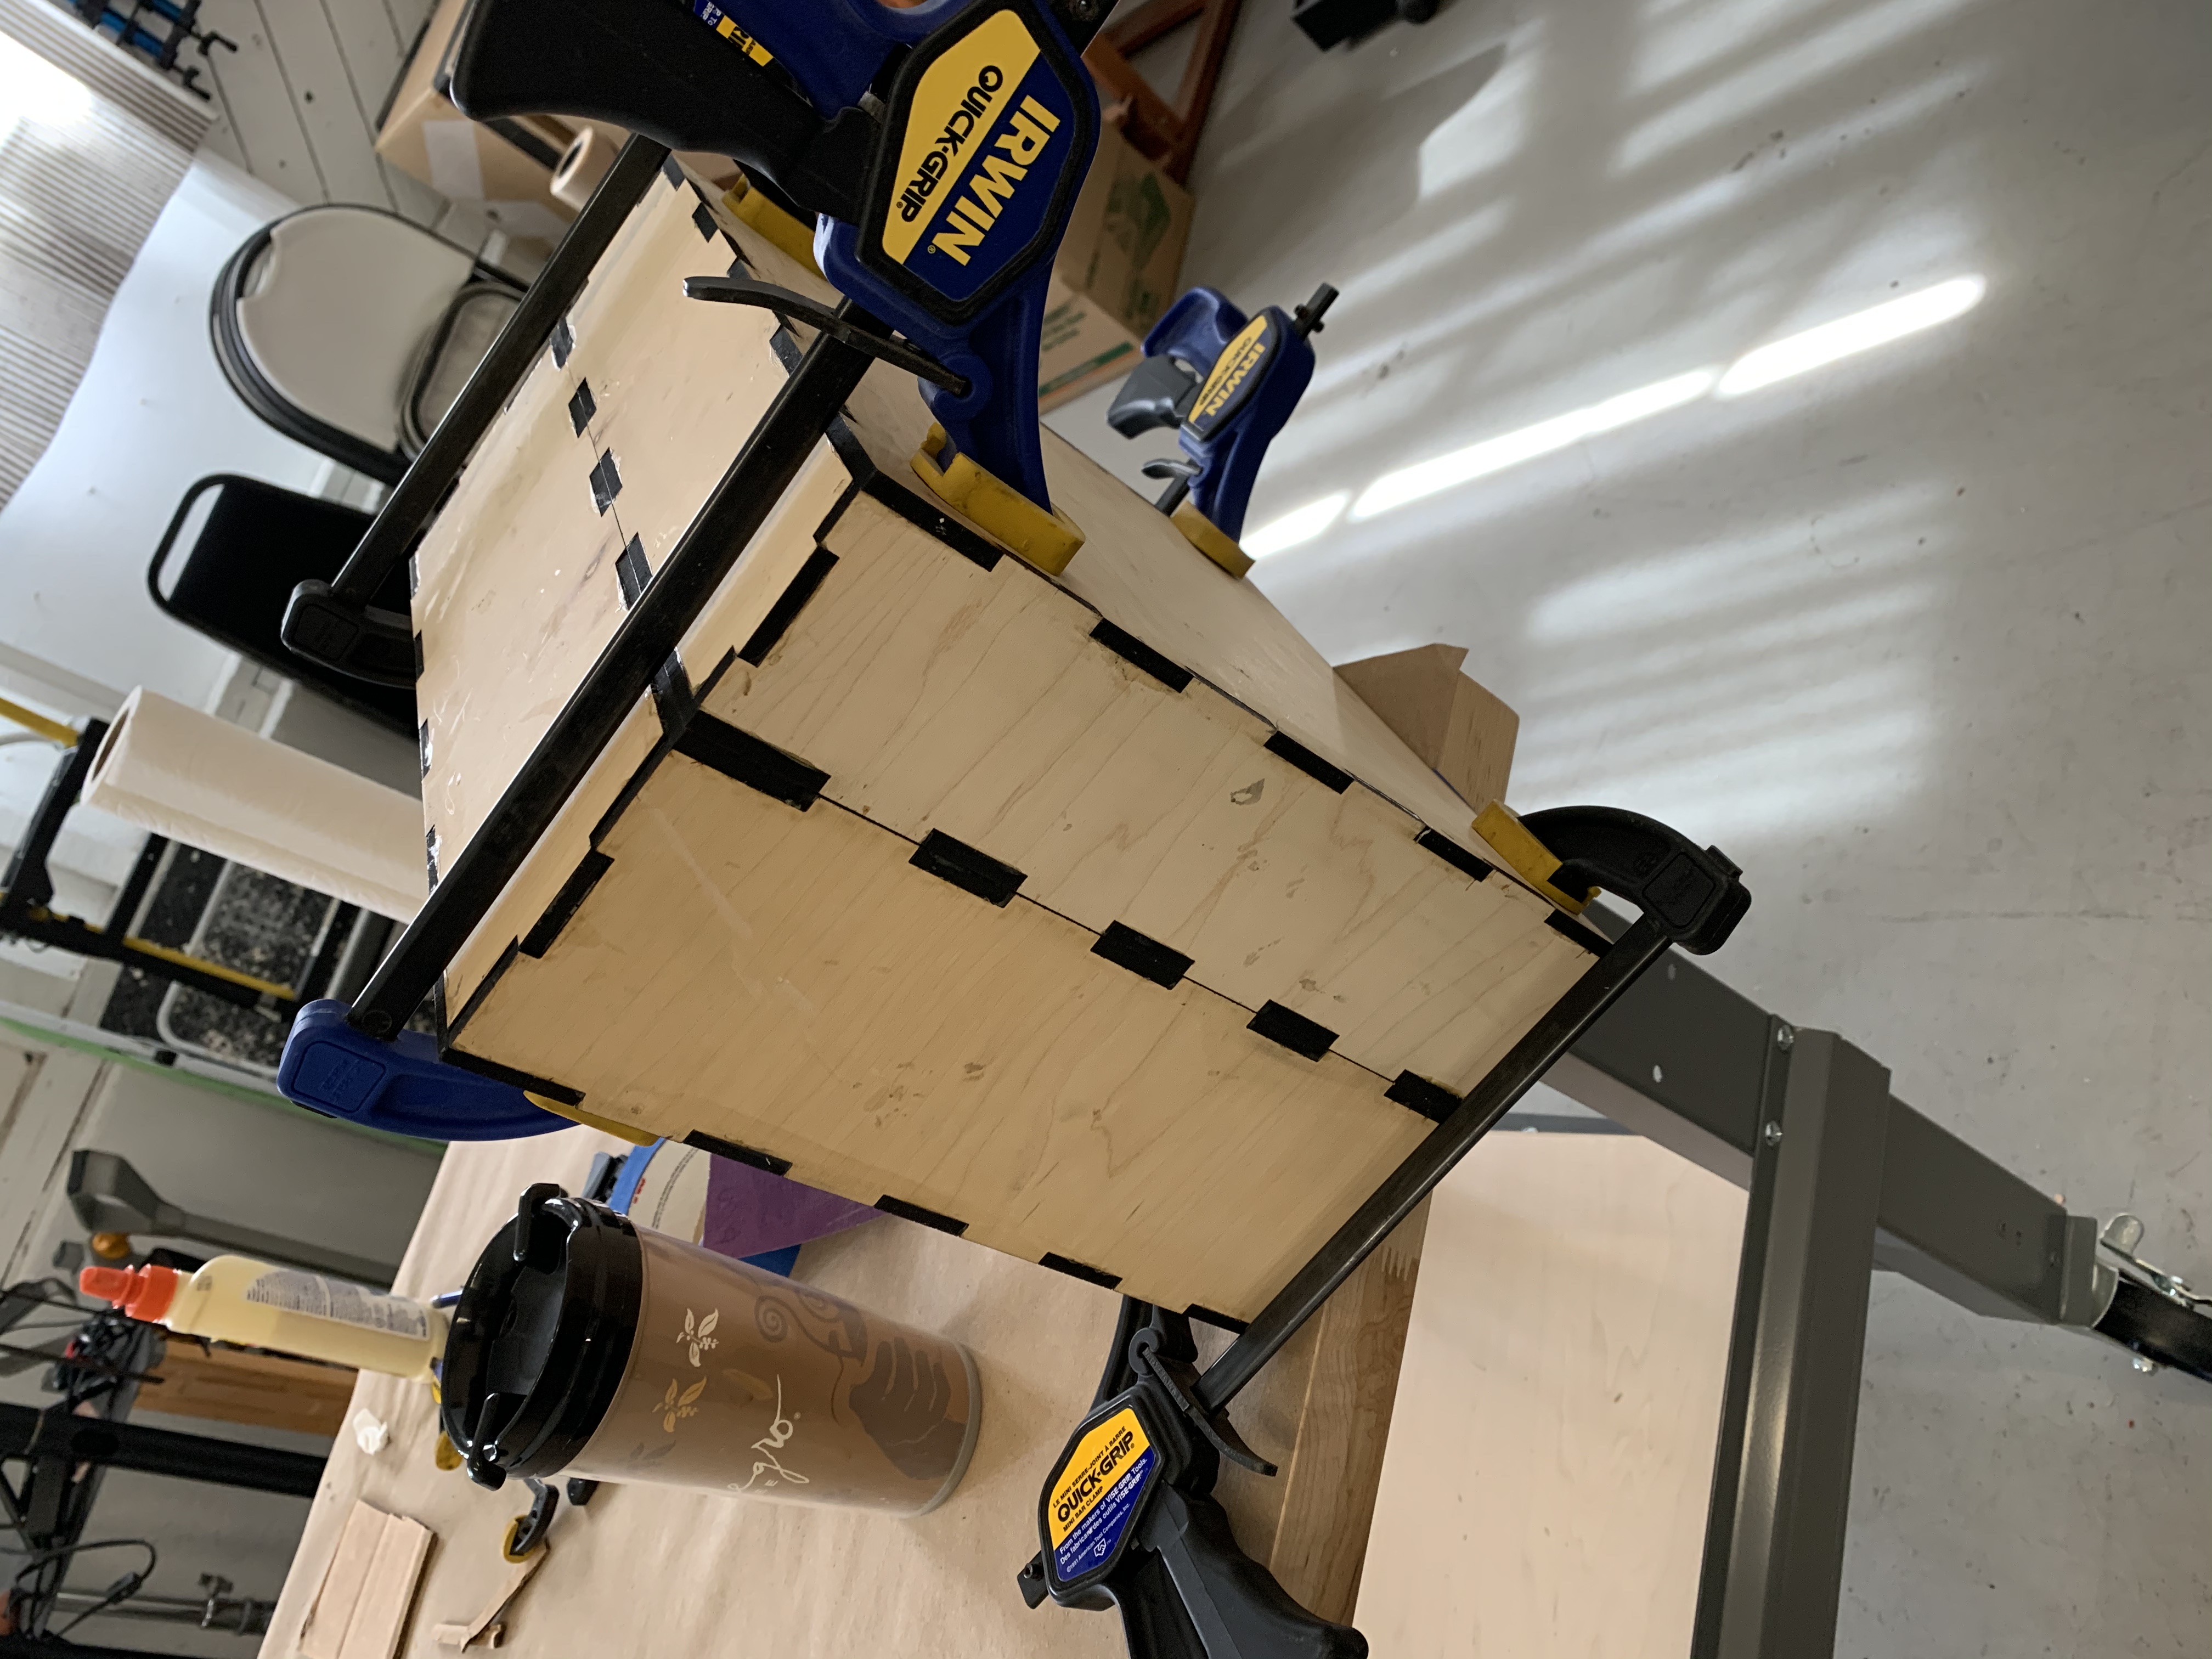
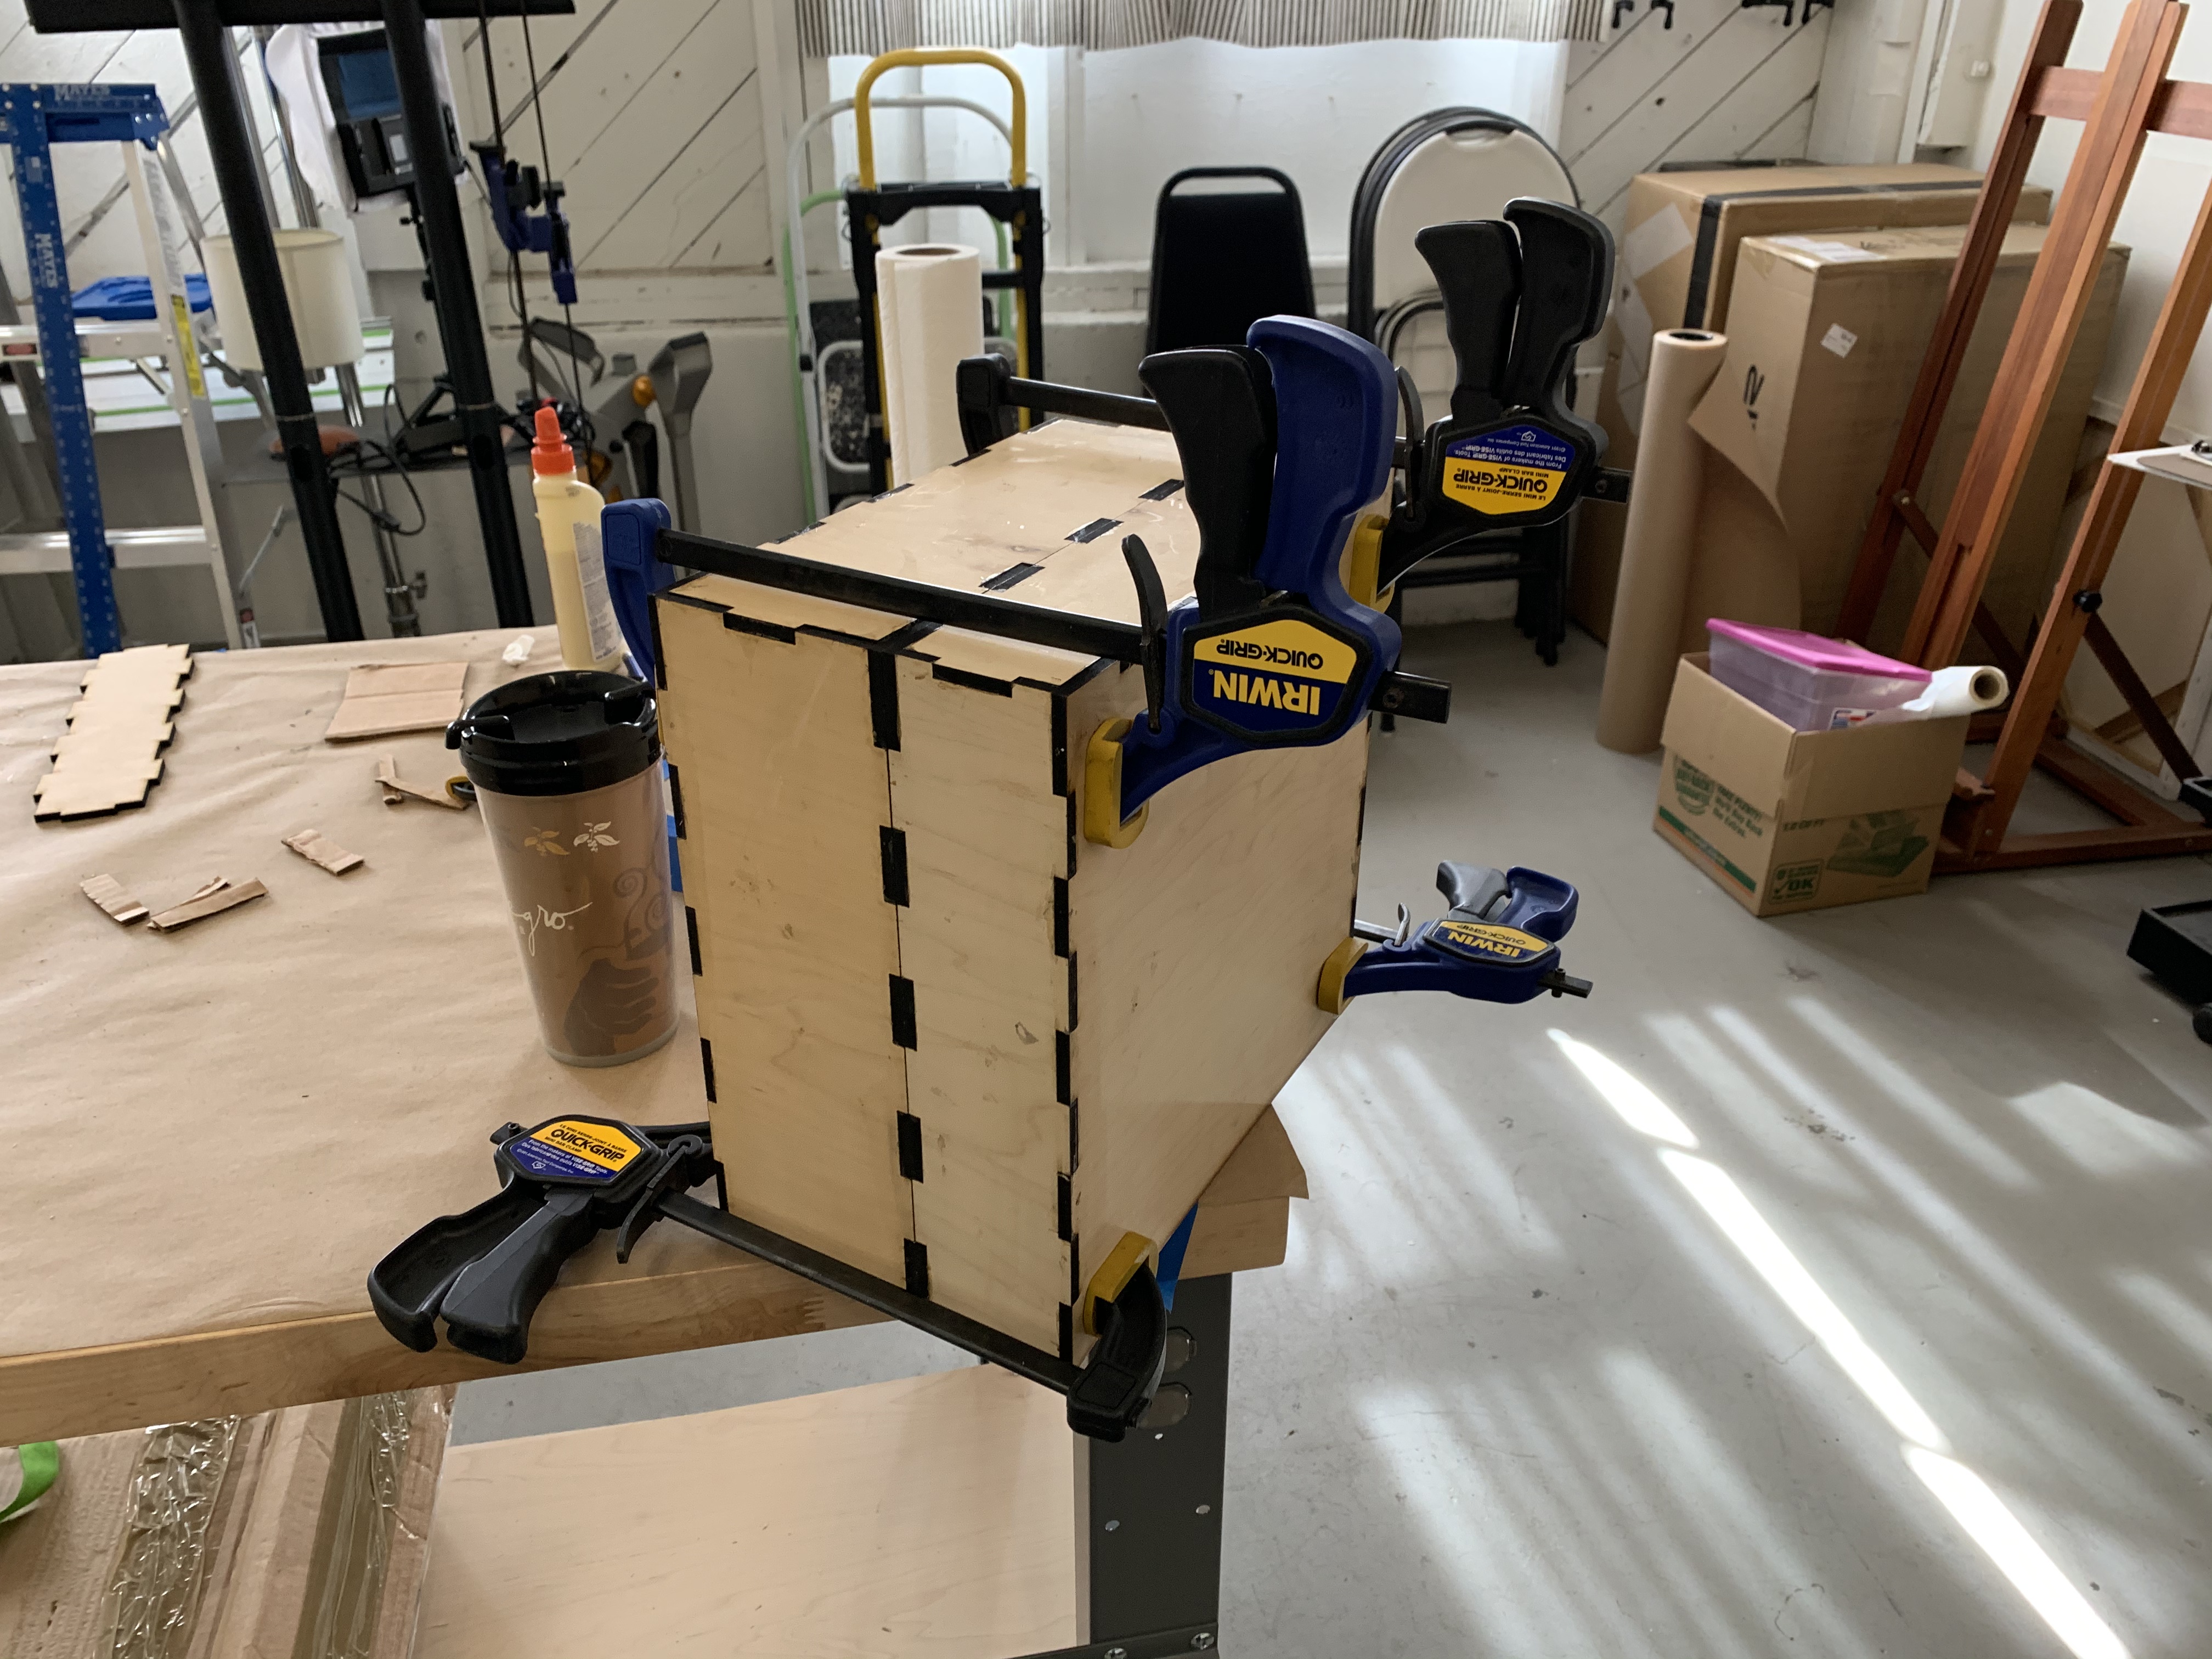
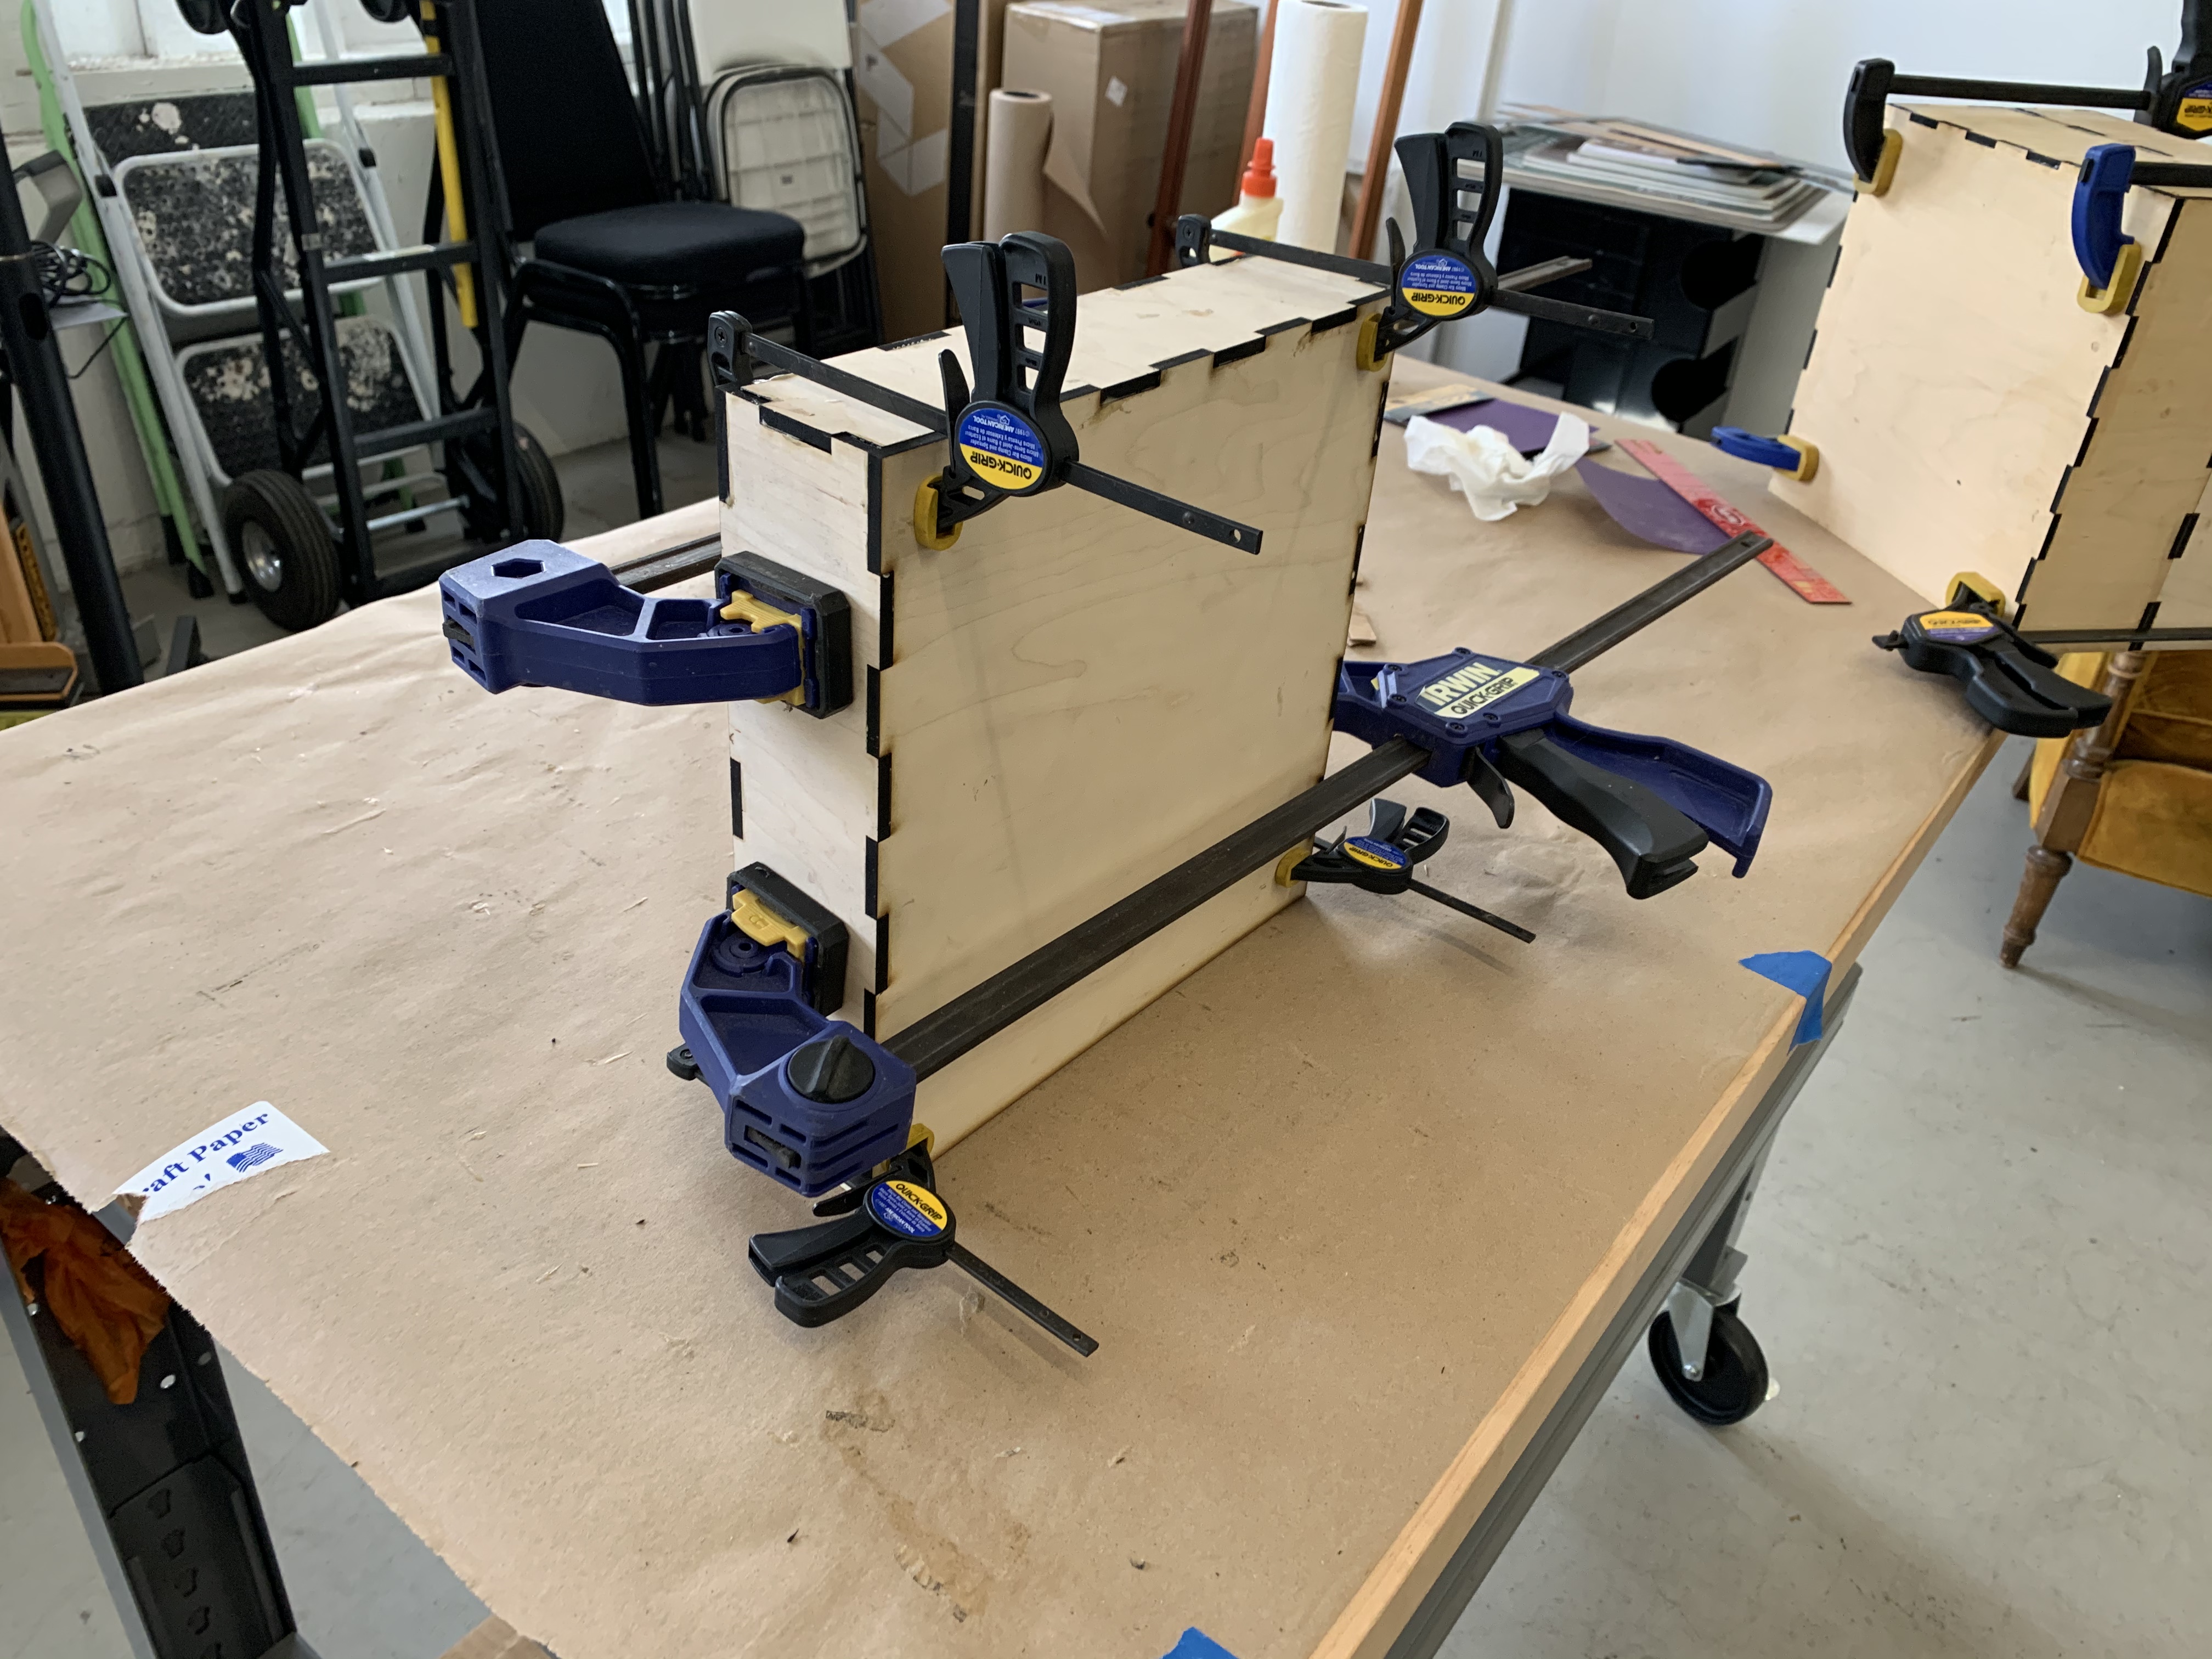
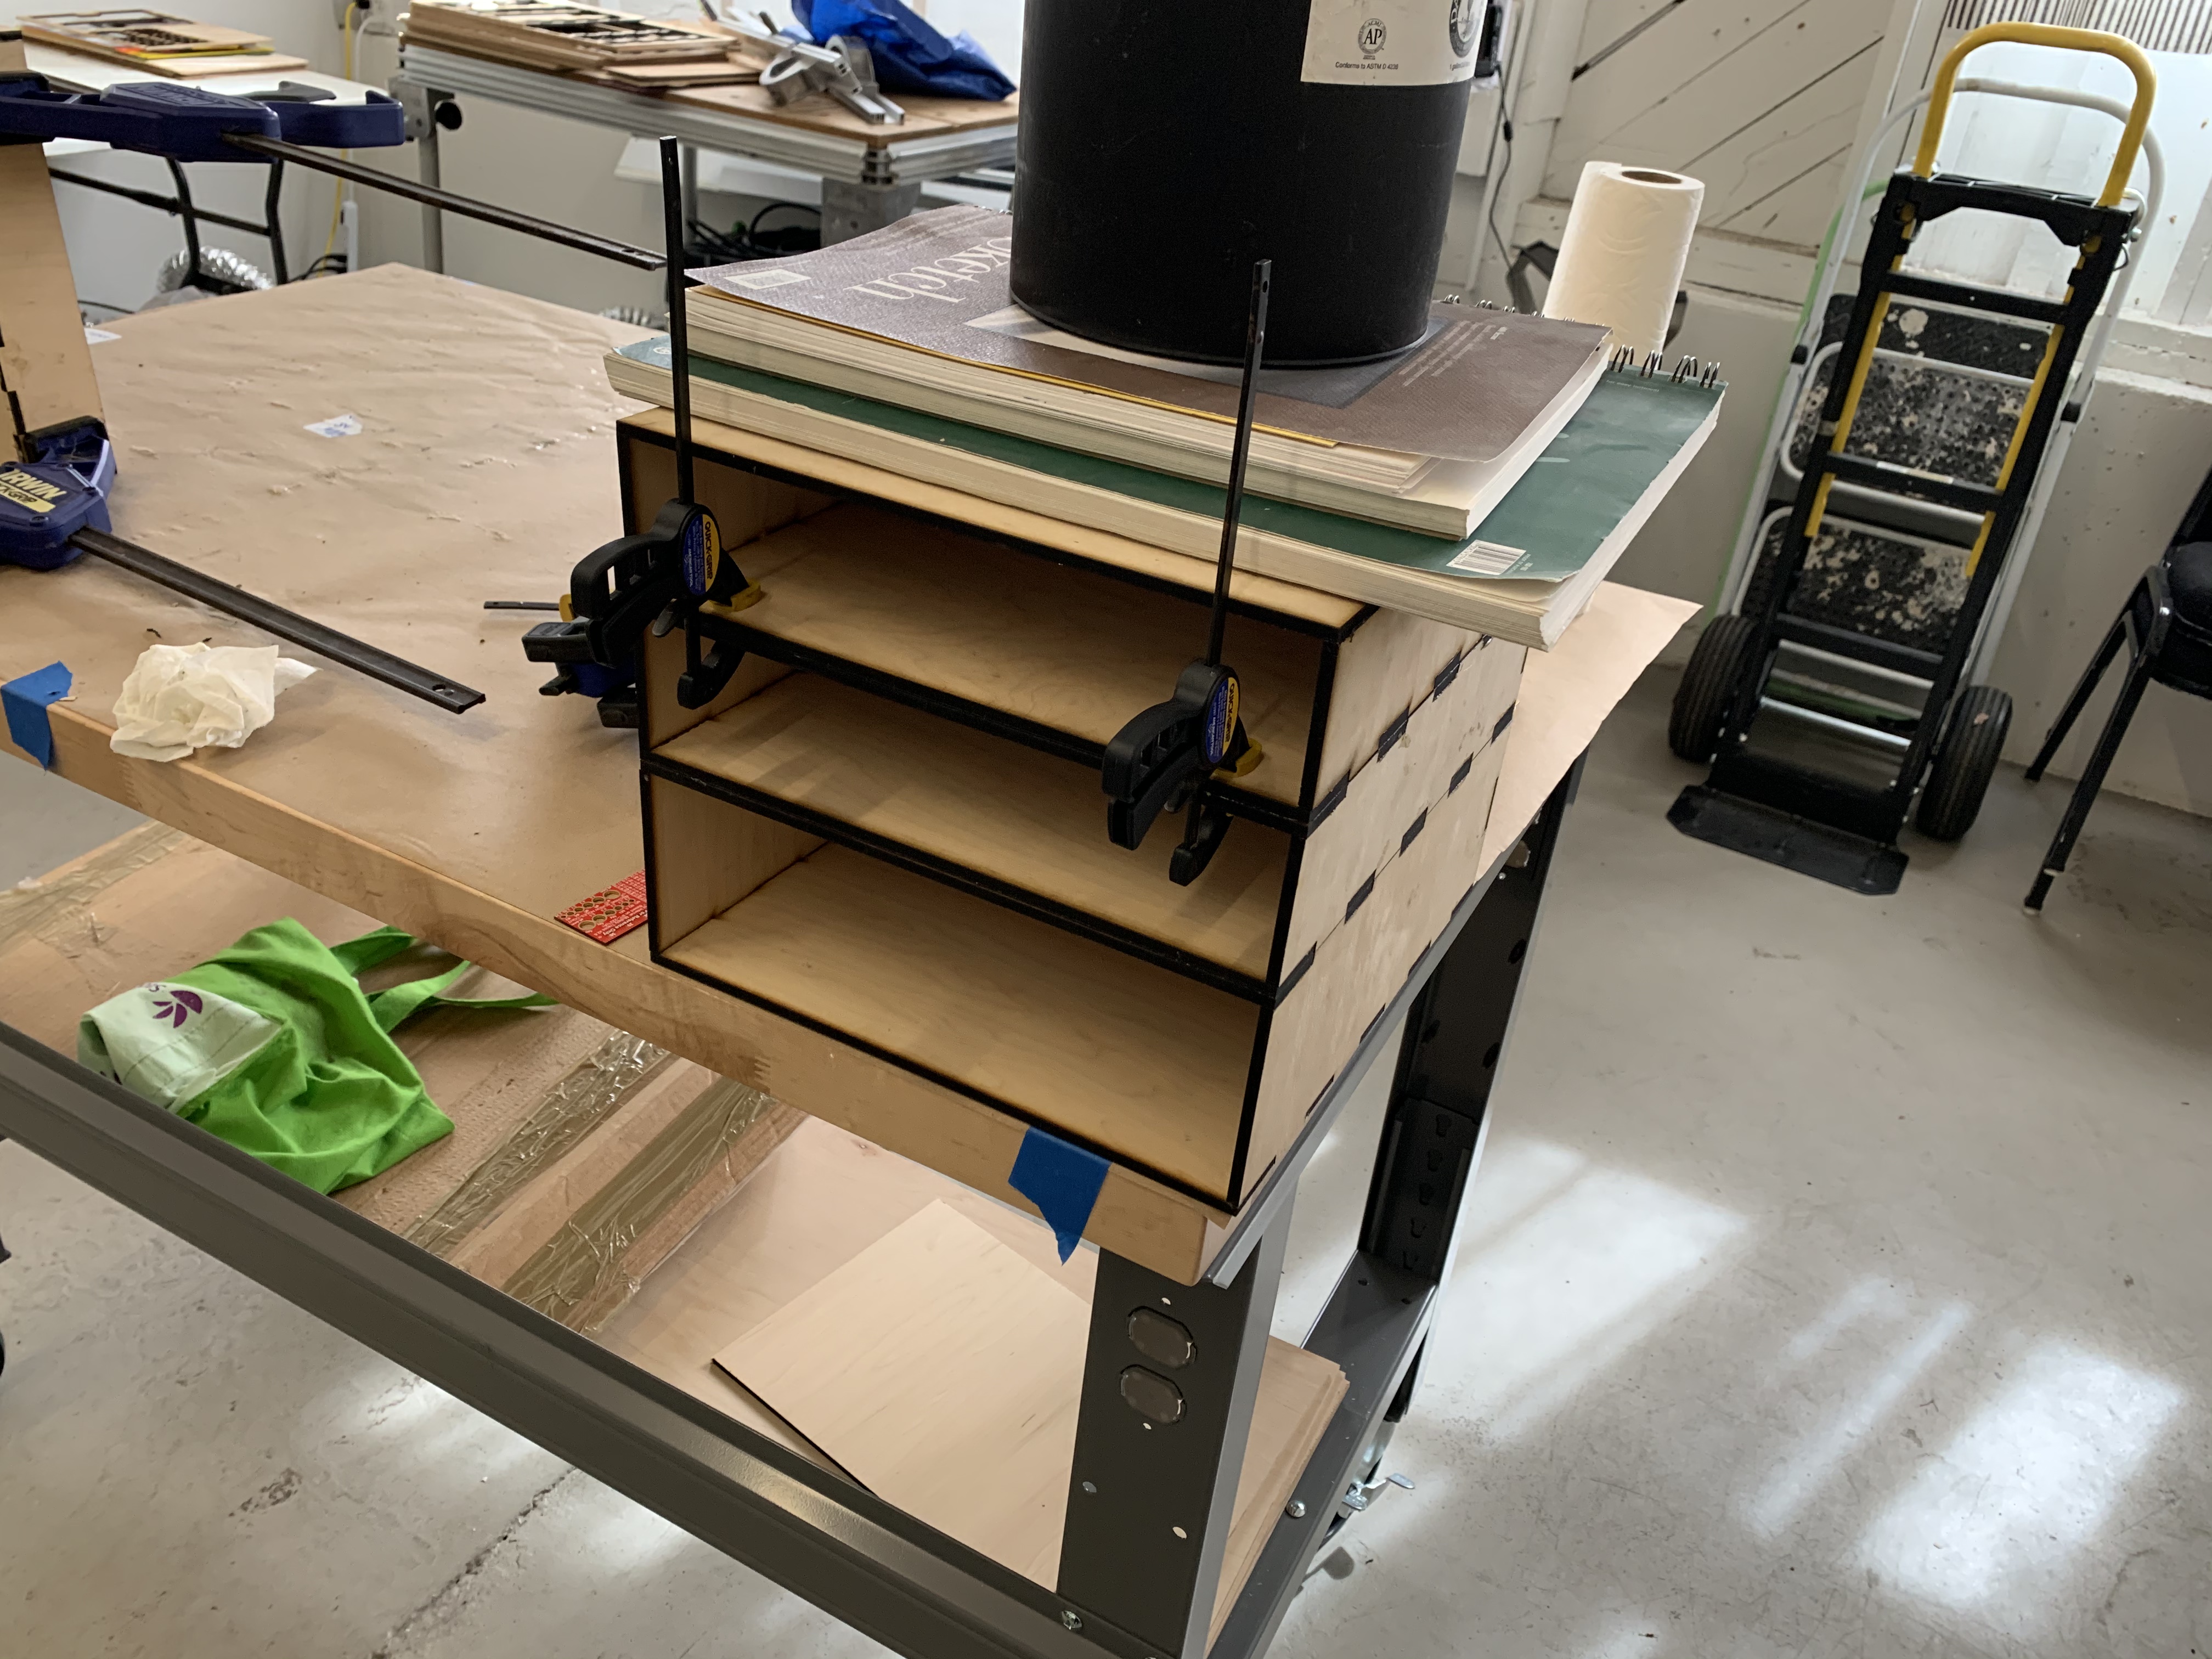
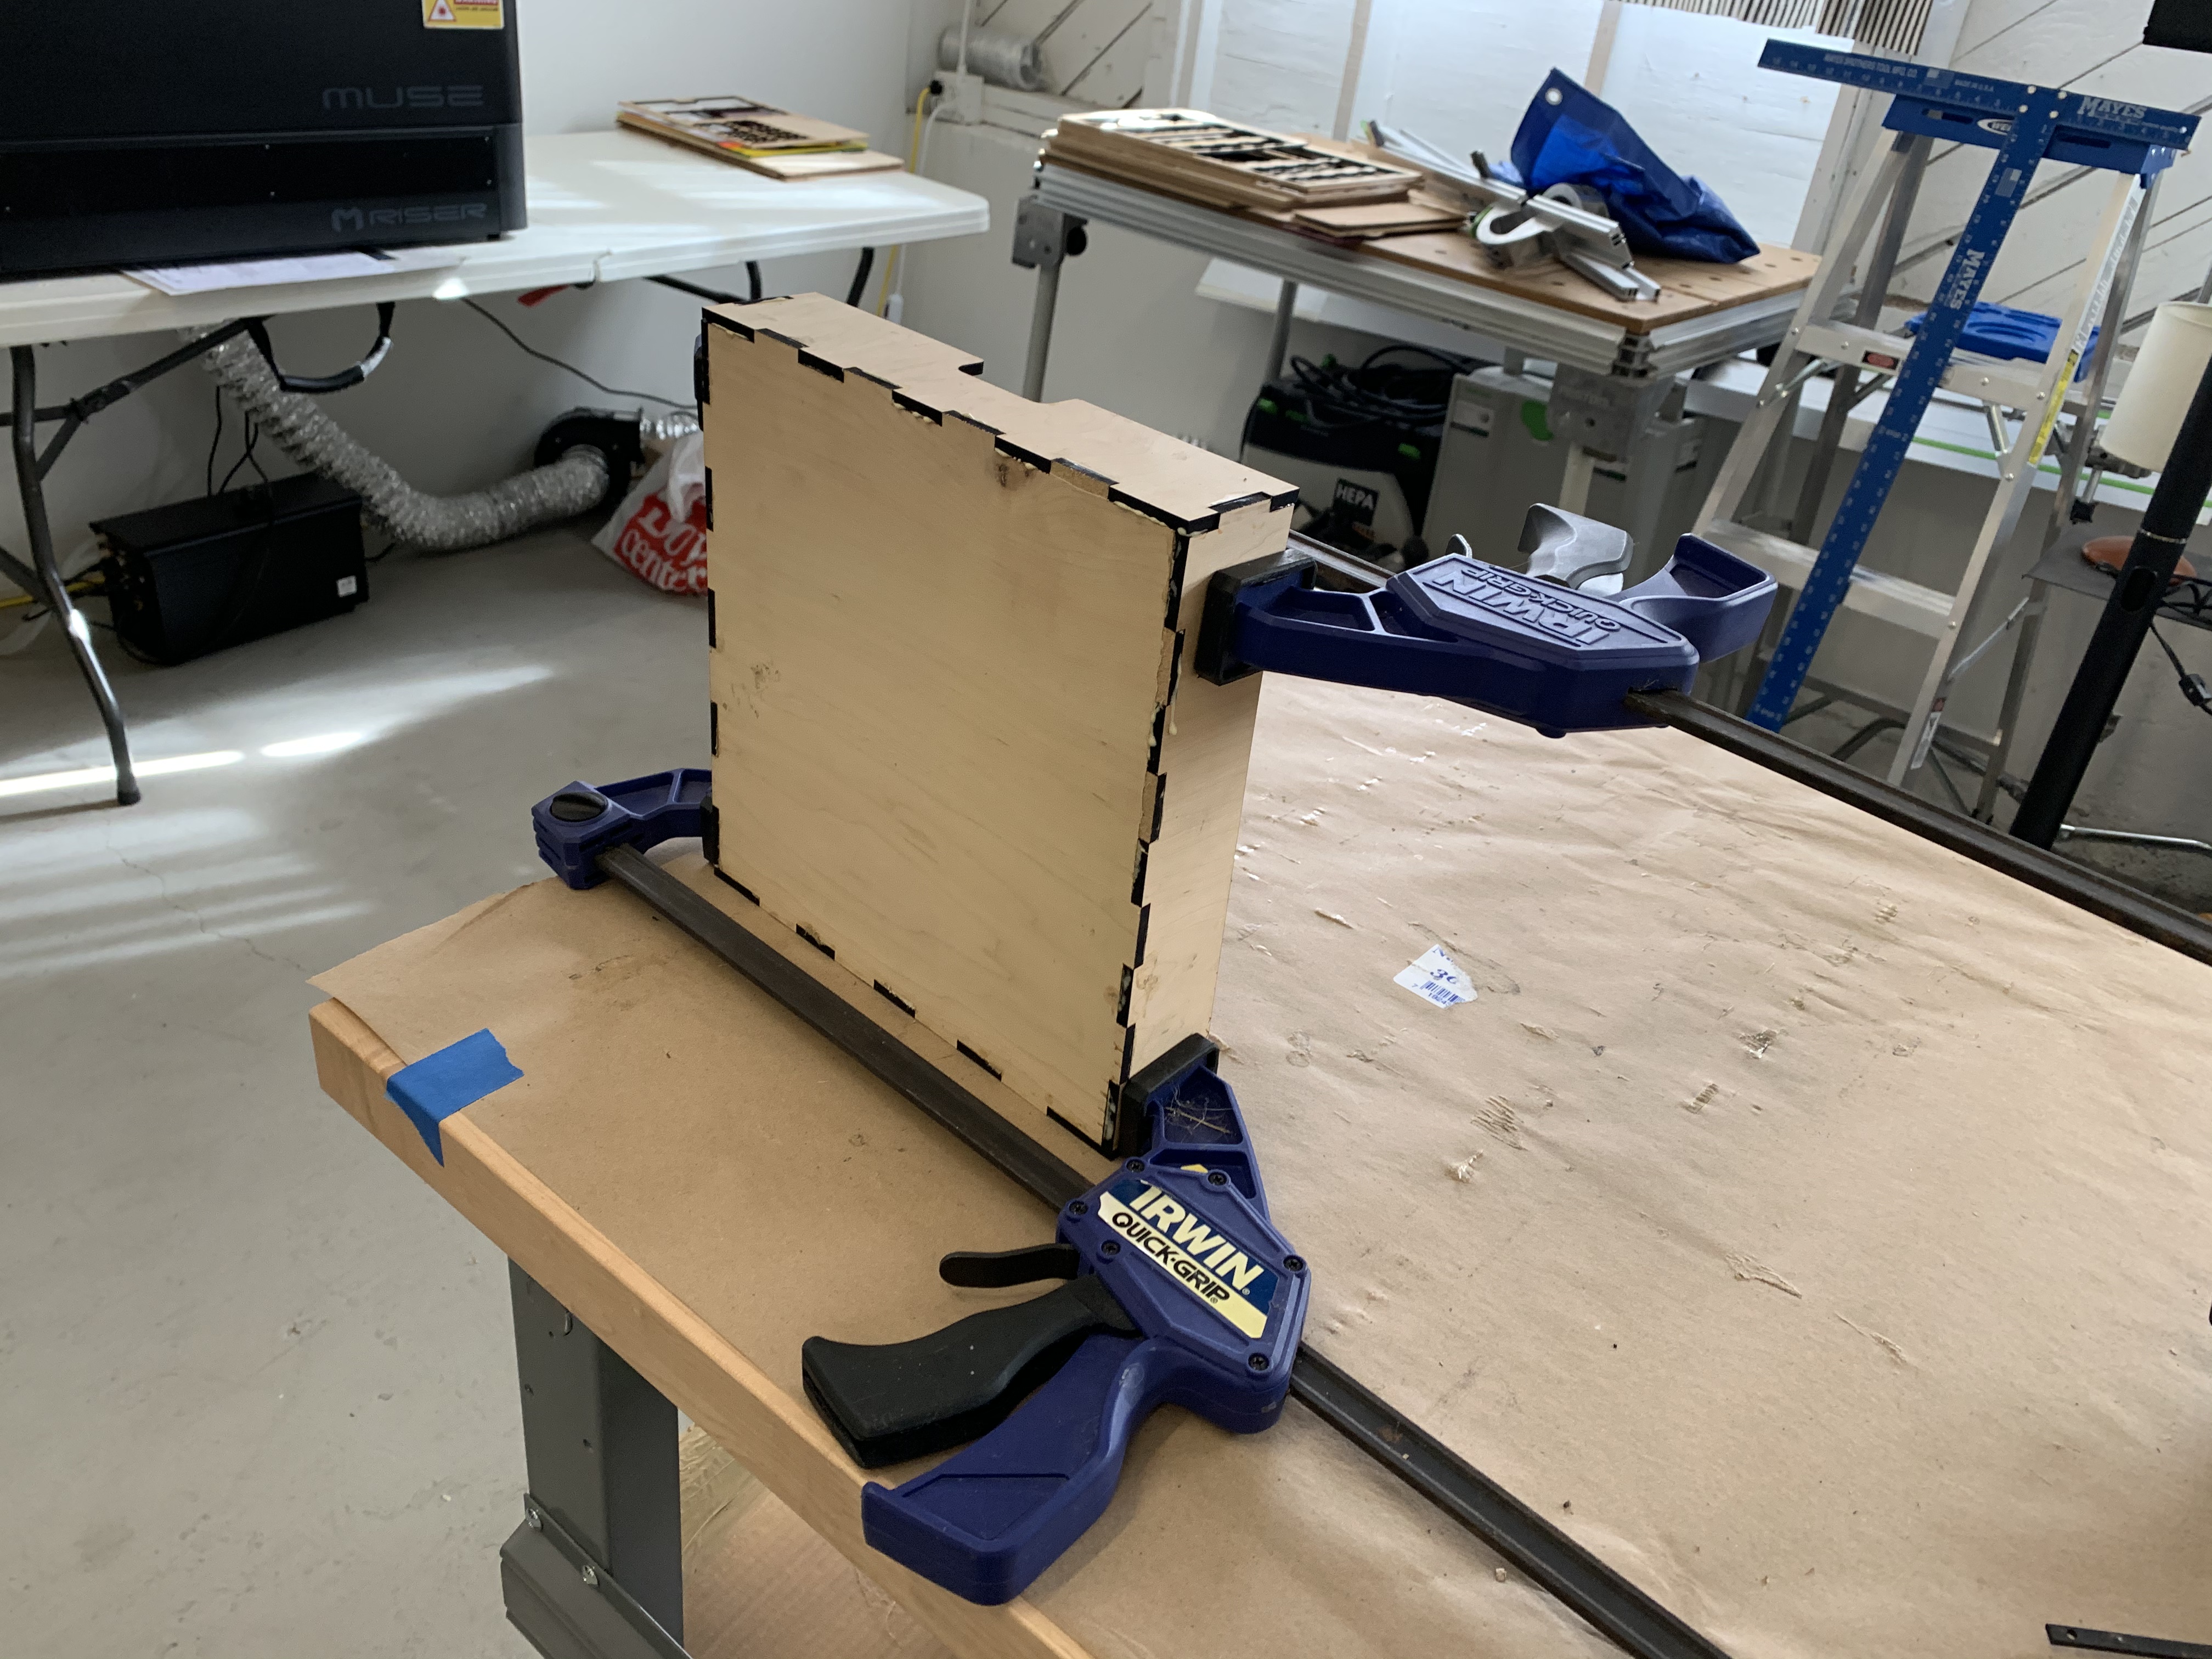
Then I spent a couple of shop days working on getting the right laser settings and optimizing my kerf settings in Makercase, which is the tool that I was using to make the primary box design. Once I had things fitting nicely, I started cutting boxes and drawers. I was interrupted for a couple of weeks because of the September wildfires and not wanting to add more smoke to the environment, but once the smoke had literally cleared, I got back at it and knocked out the rest of the pieces.
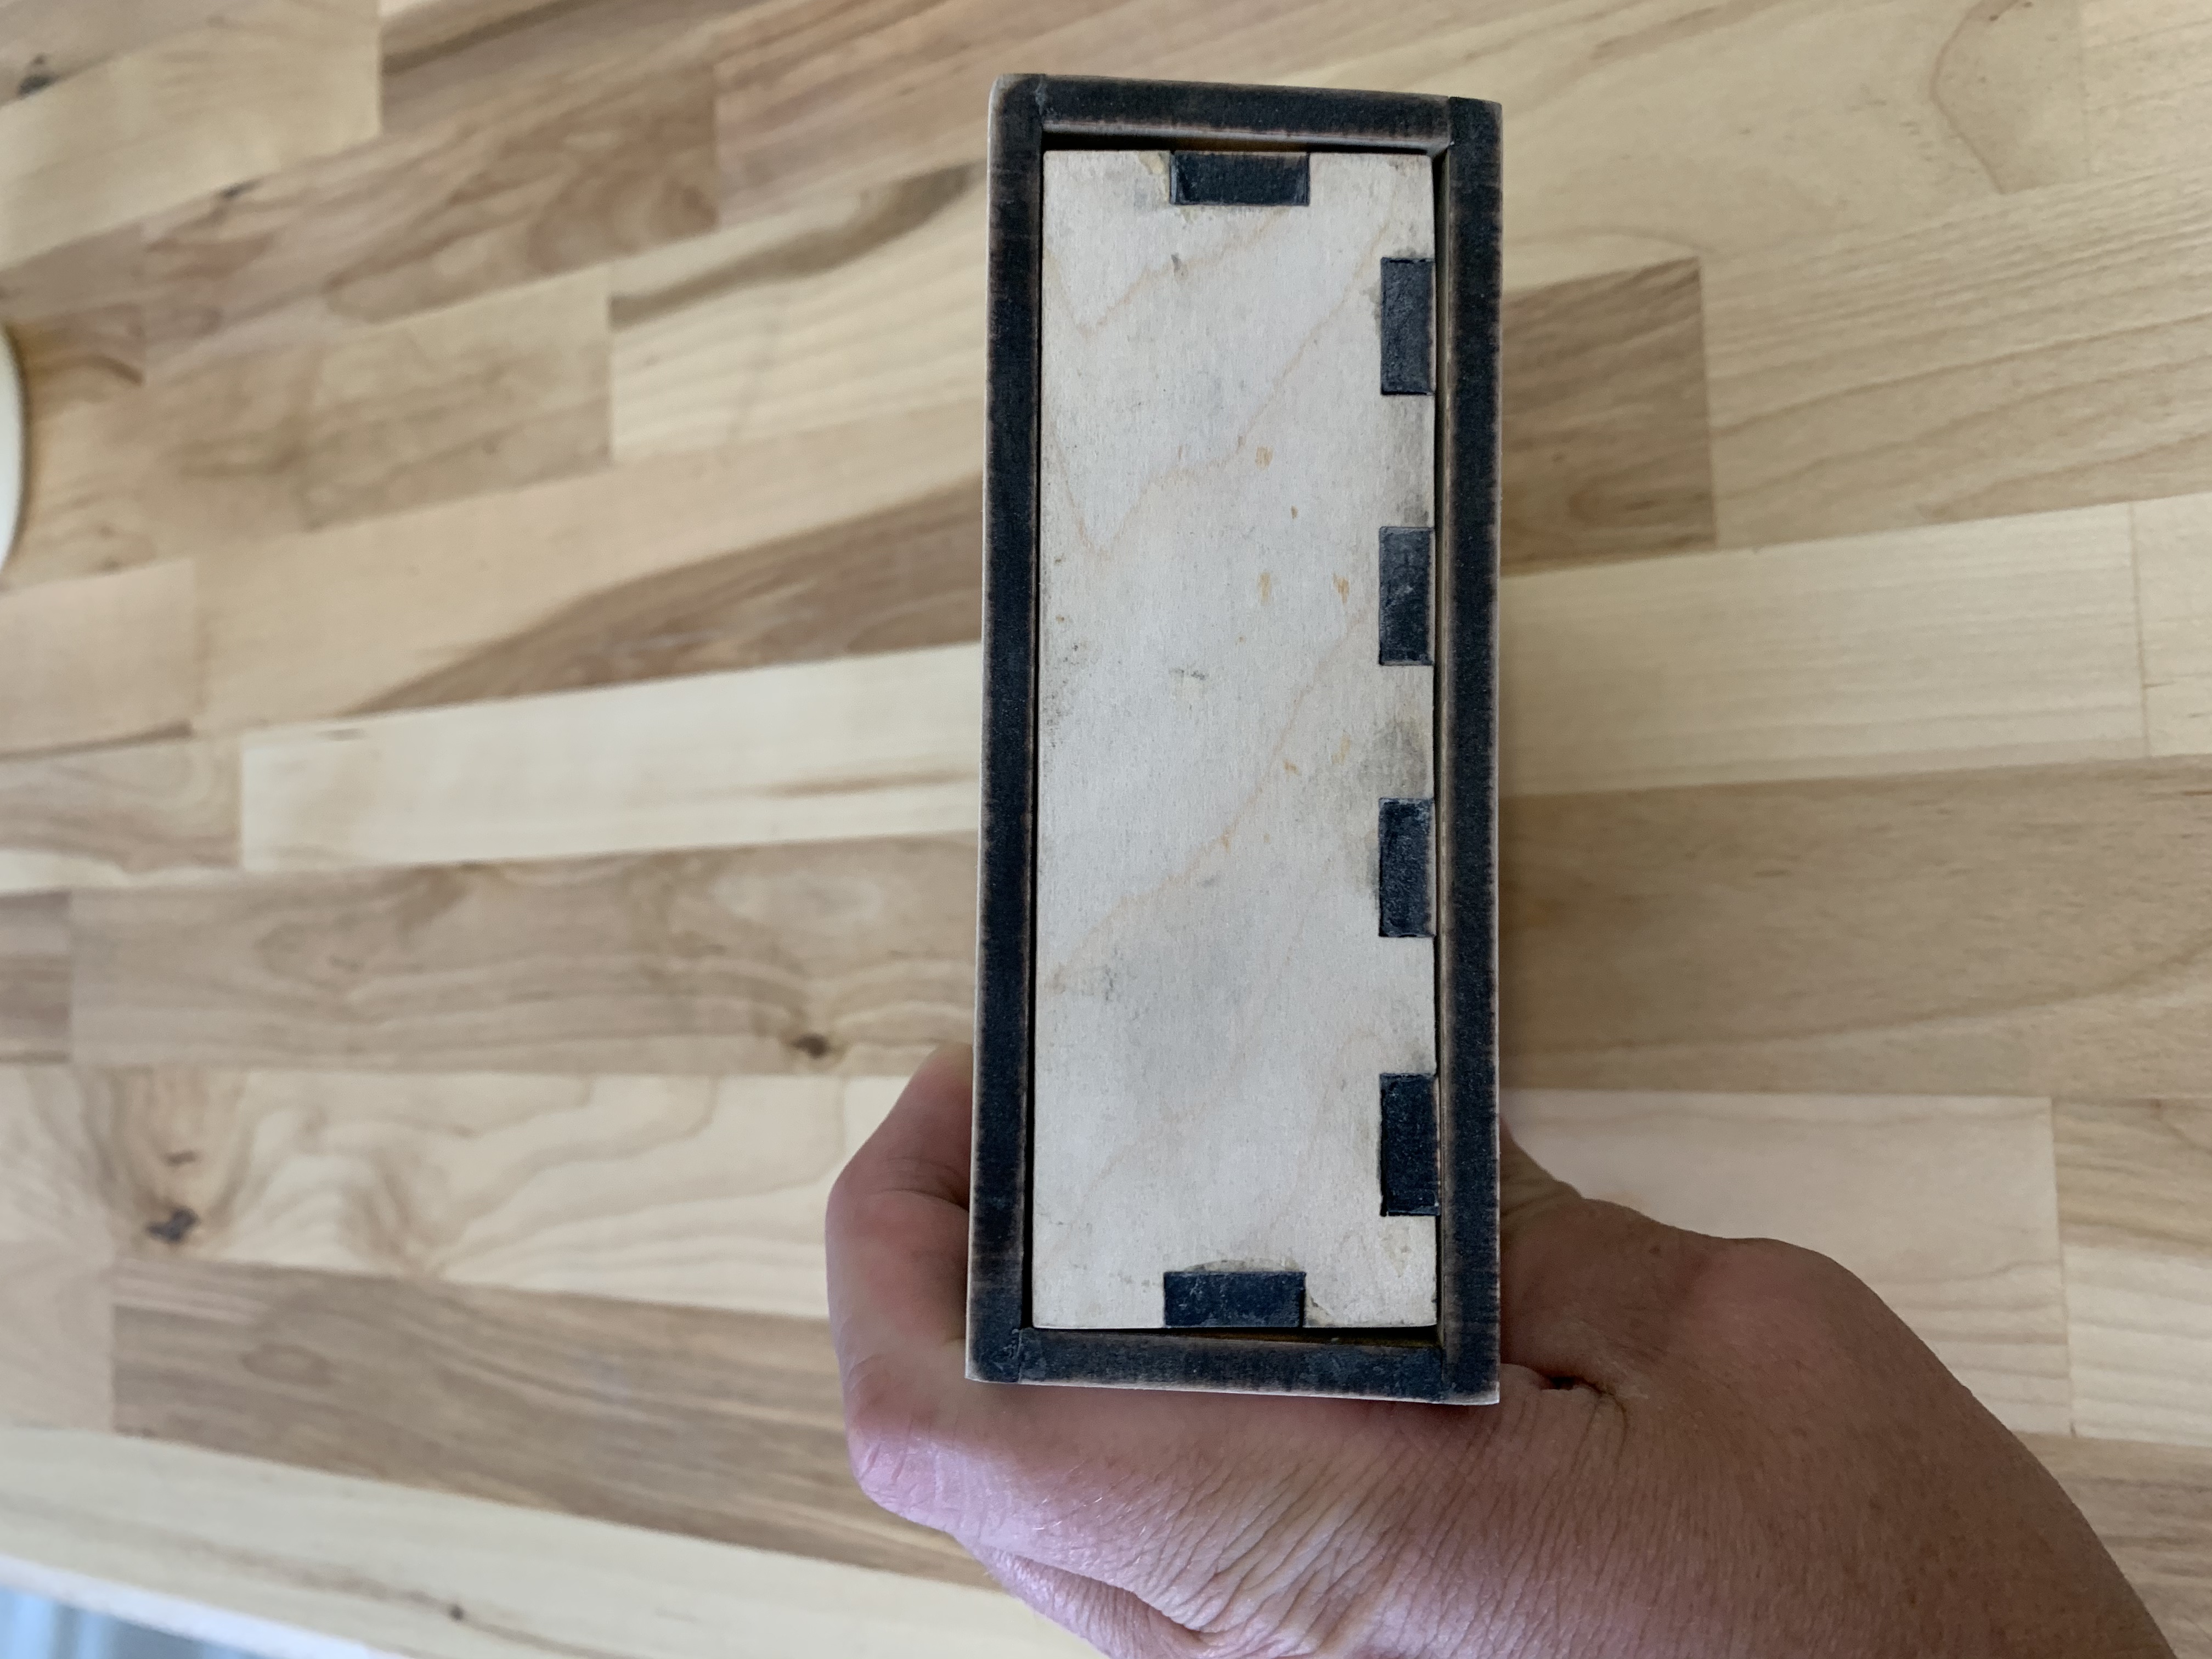
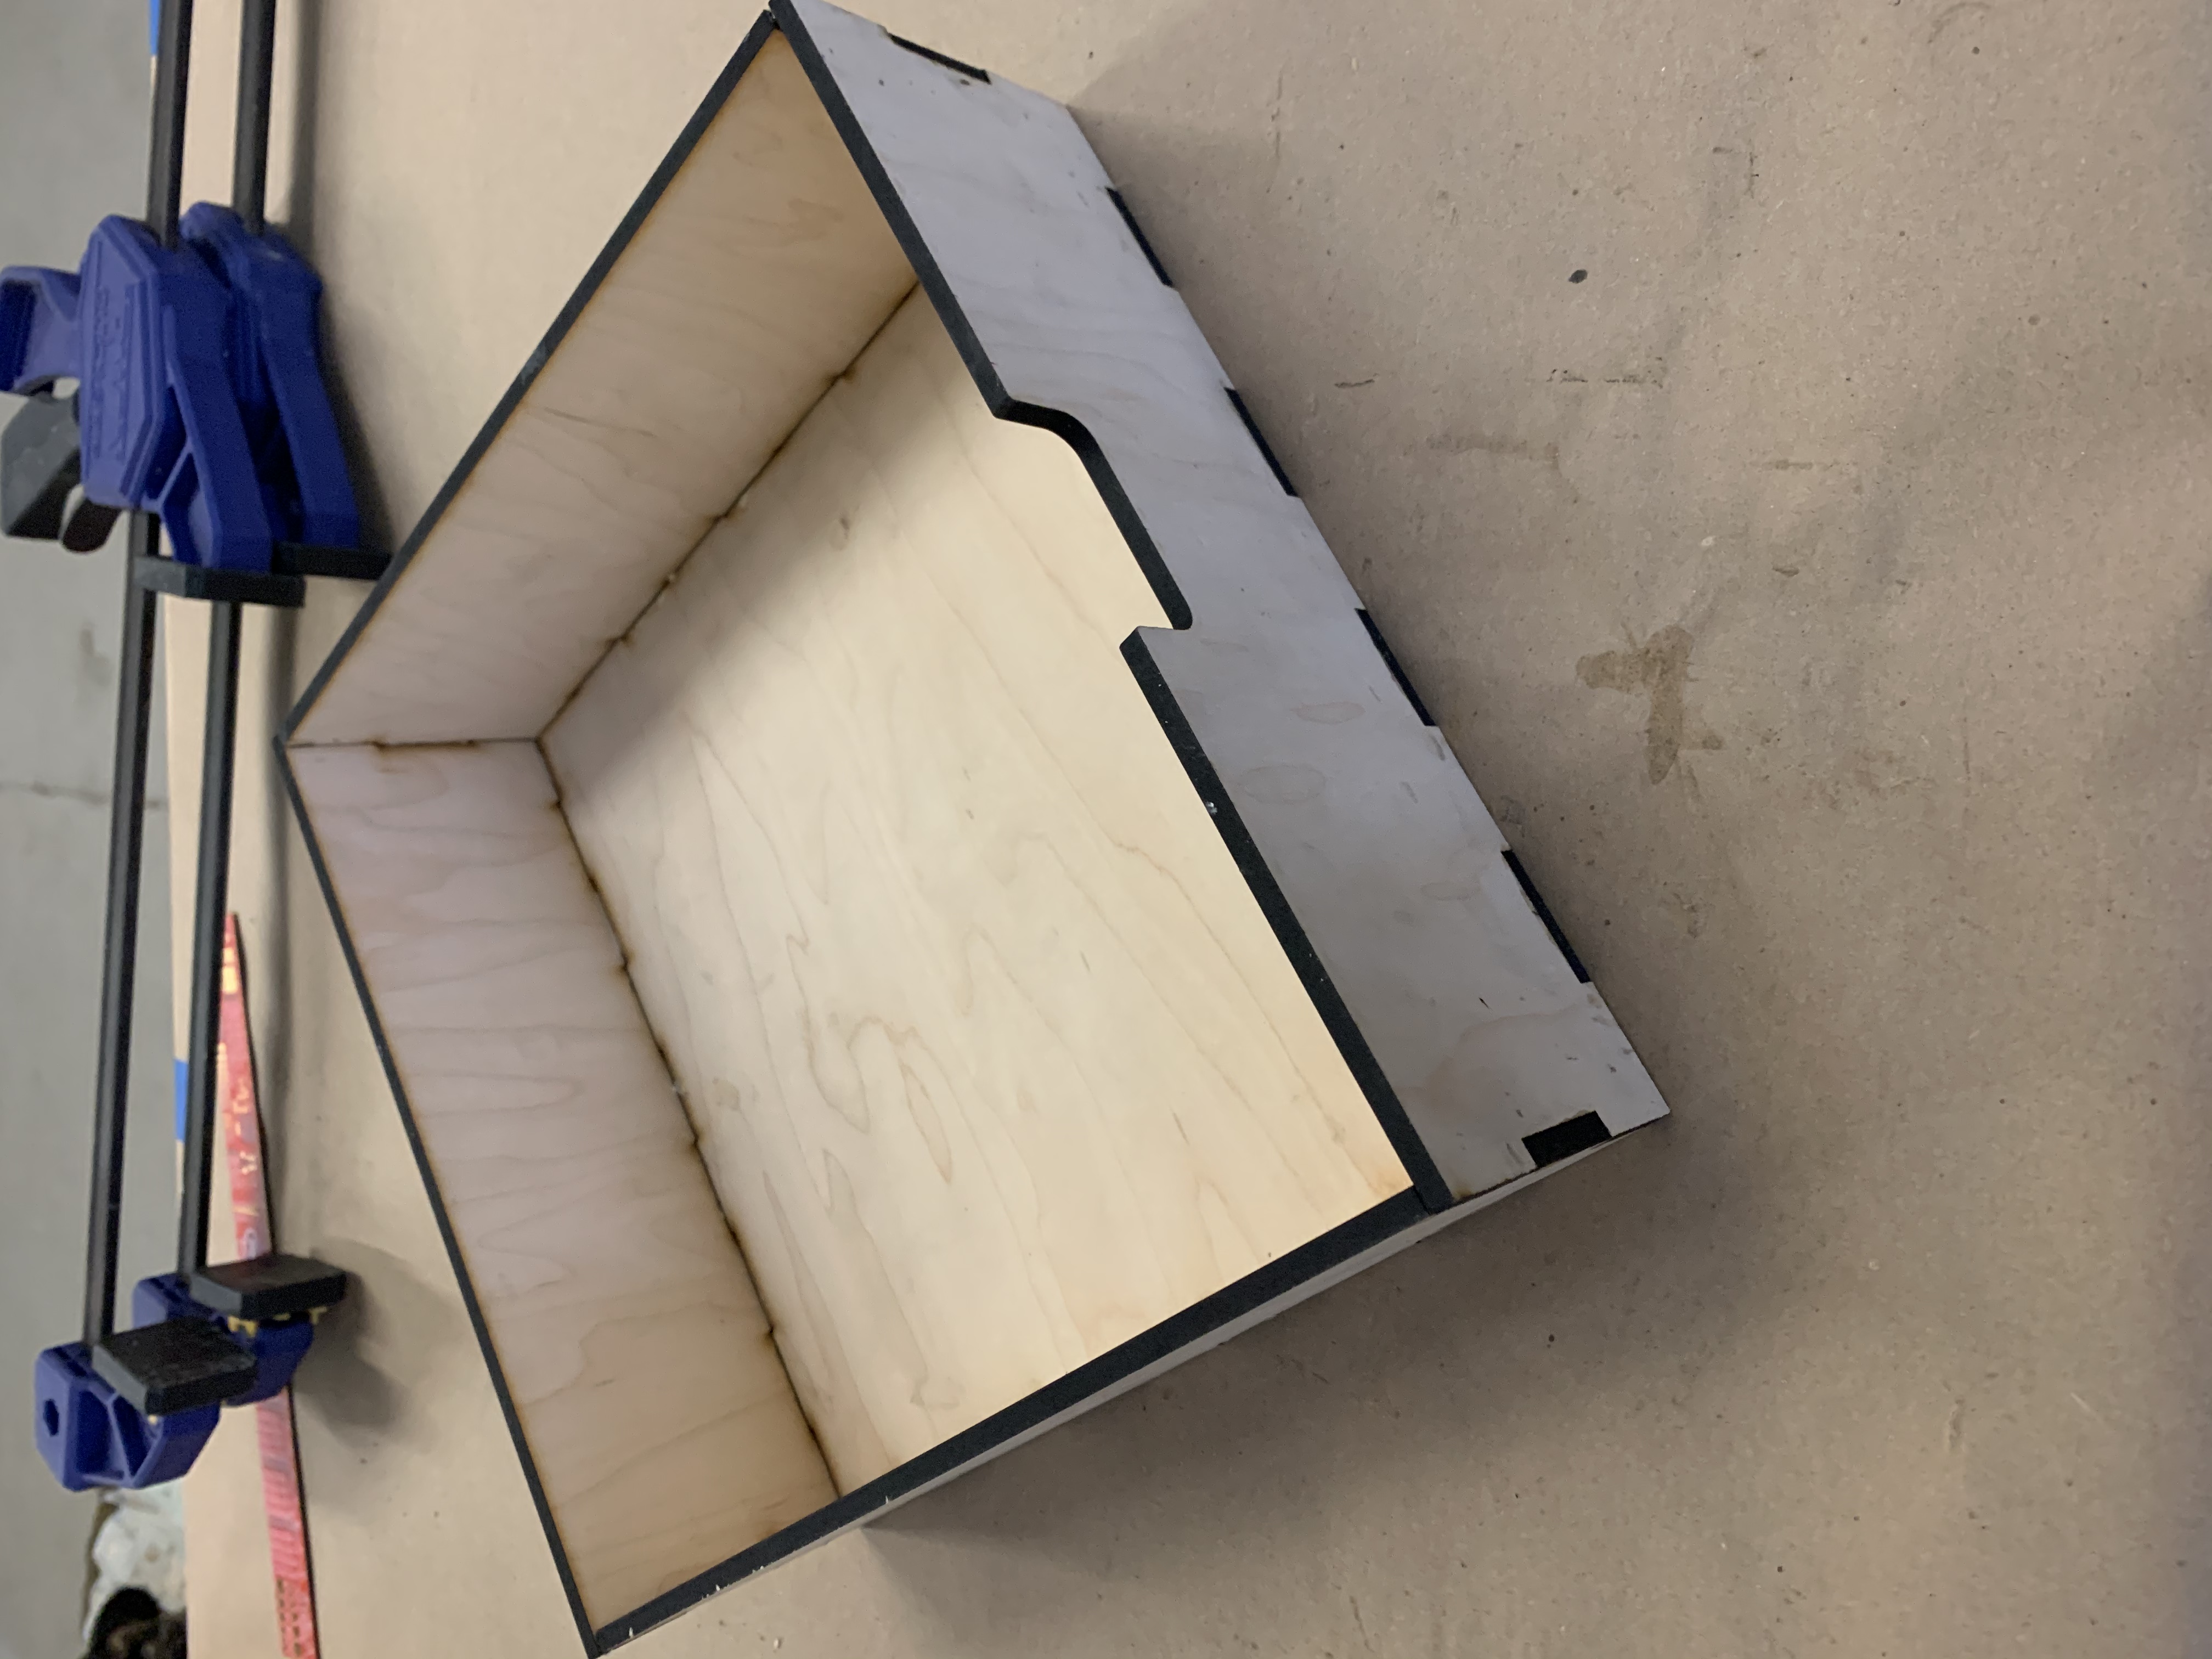
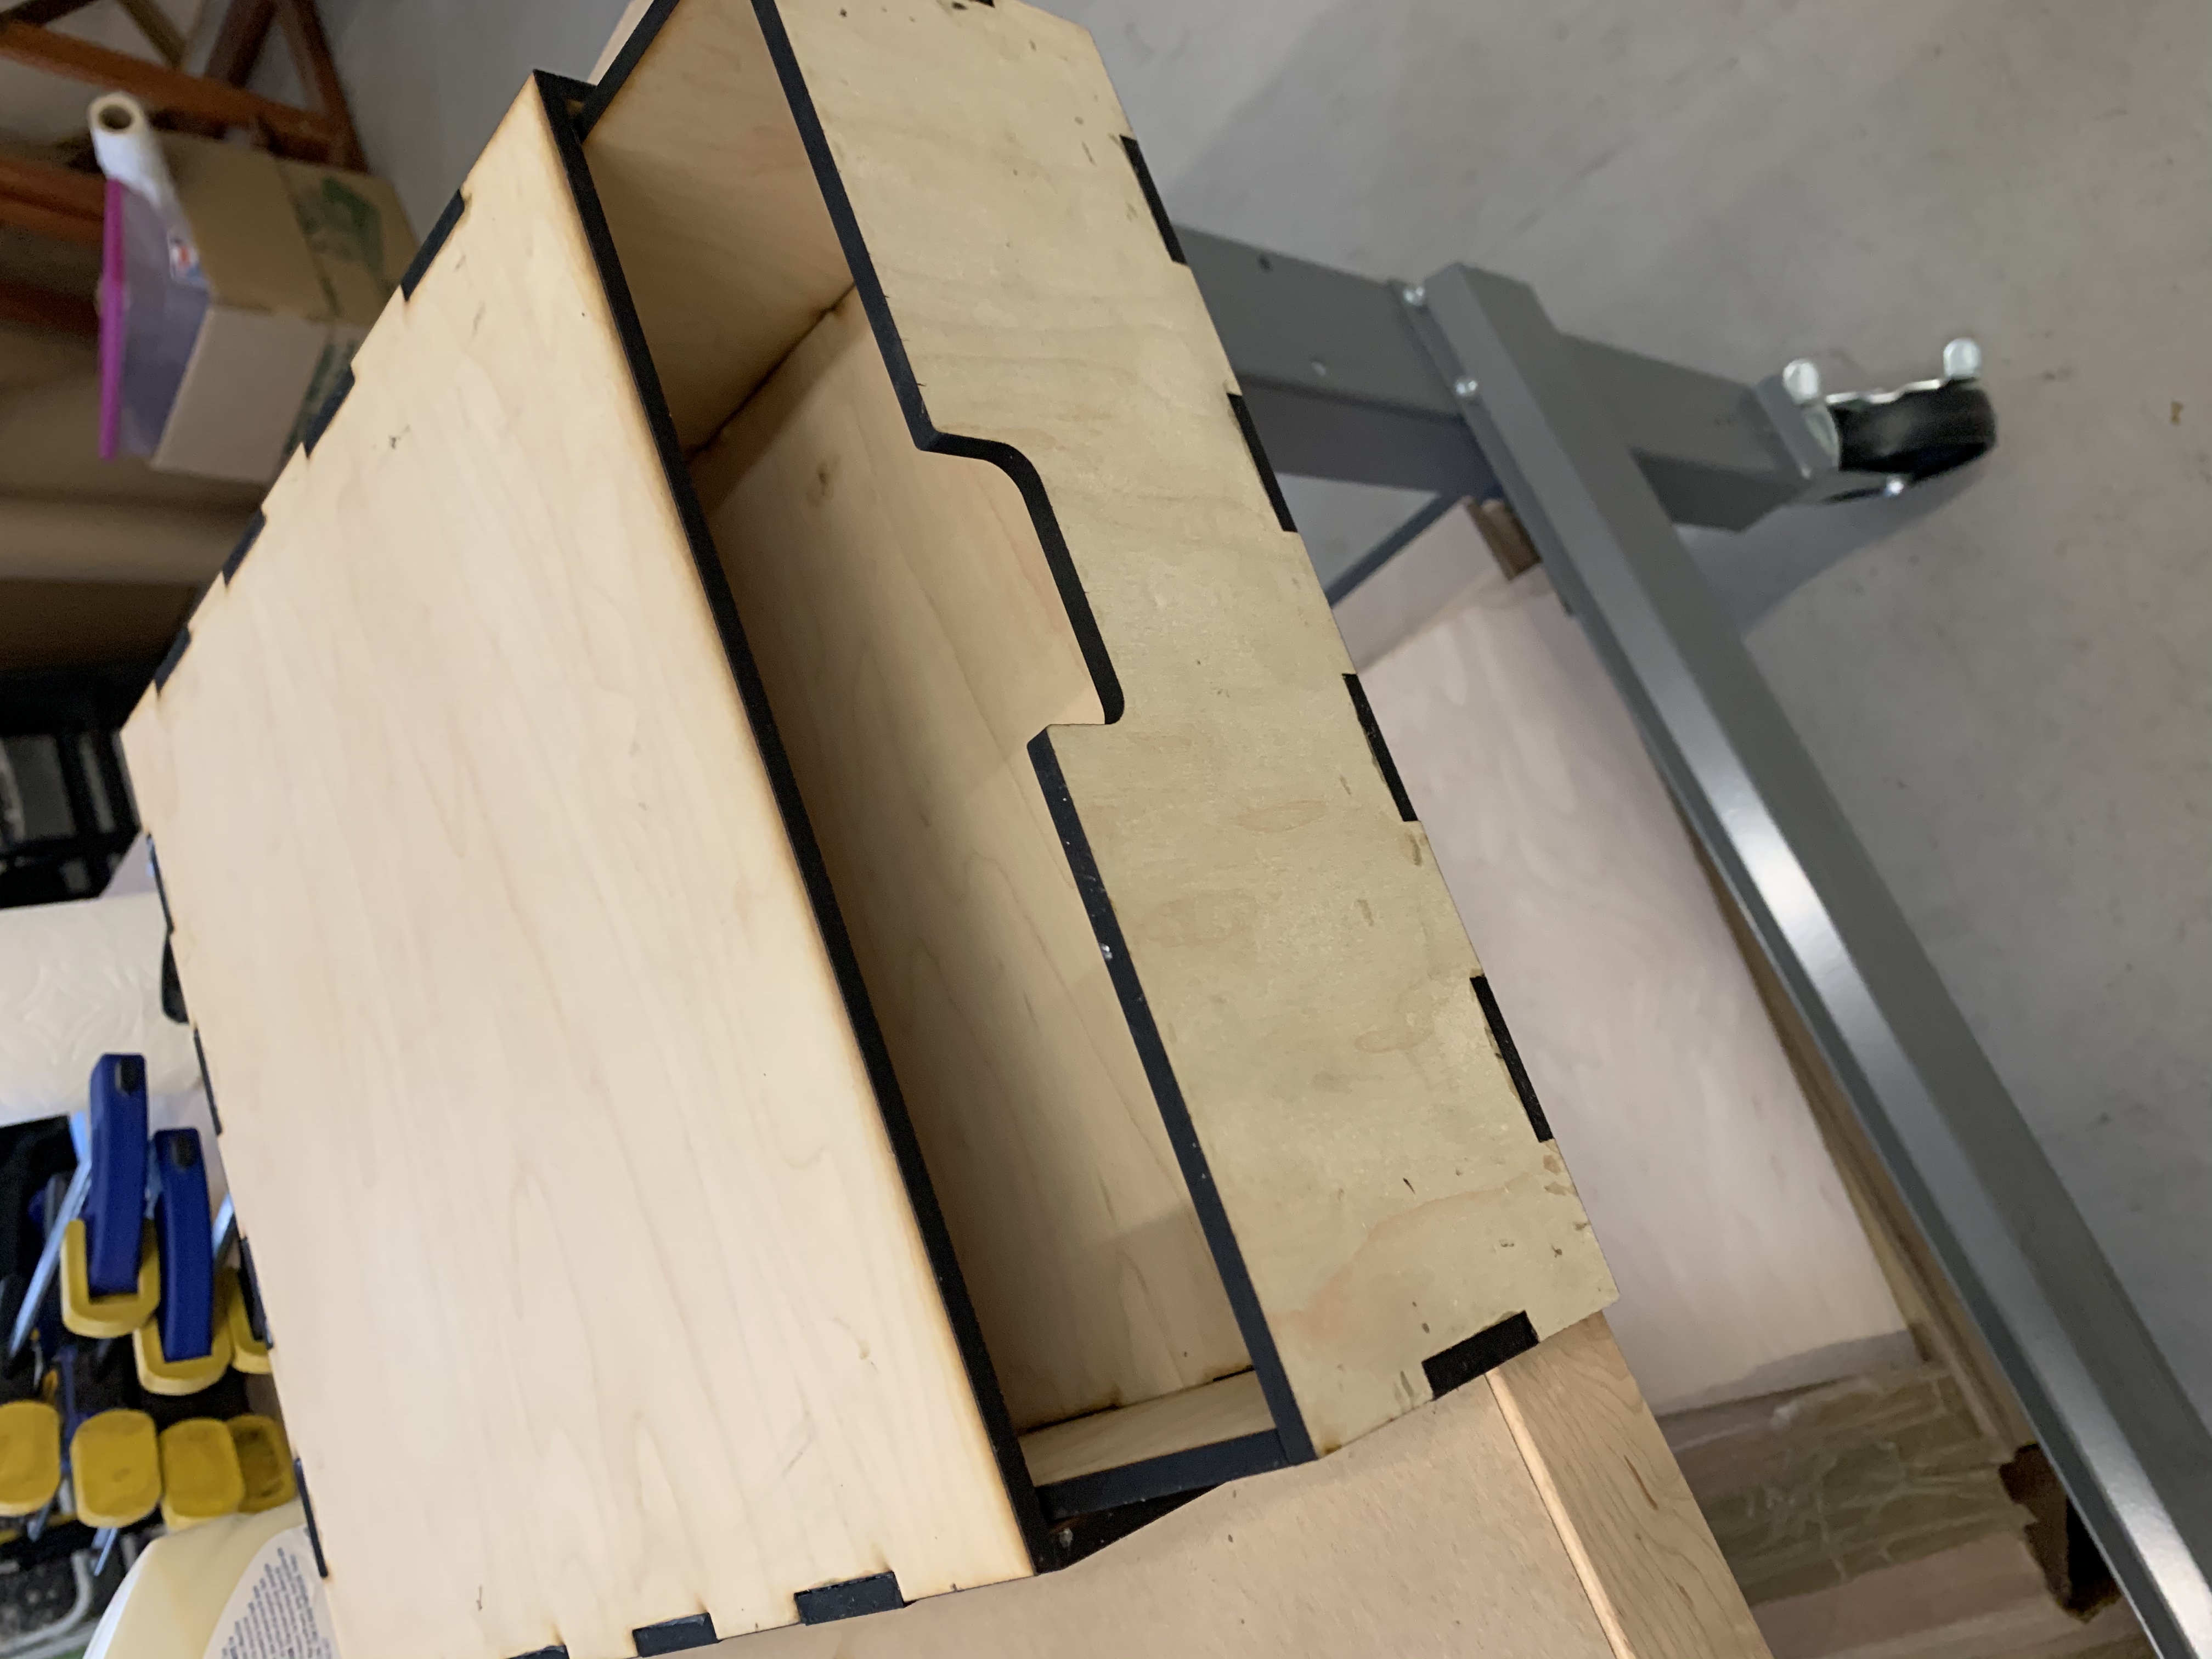
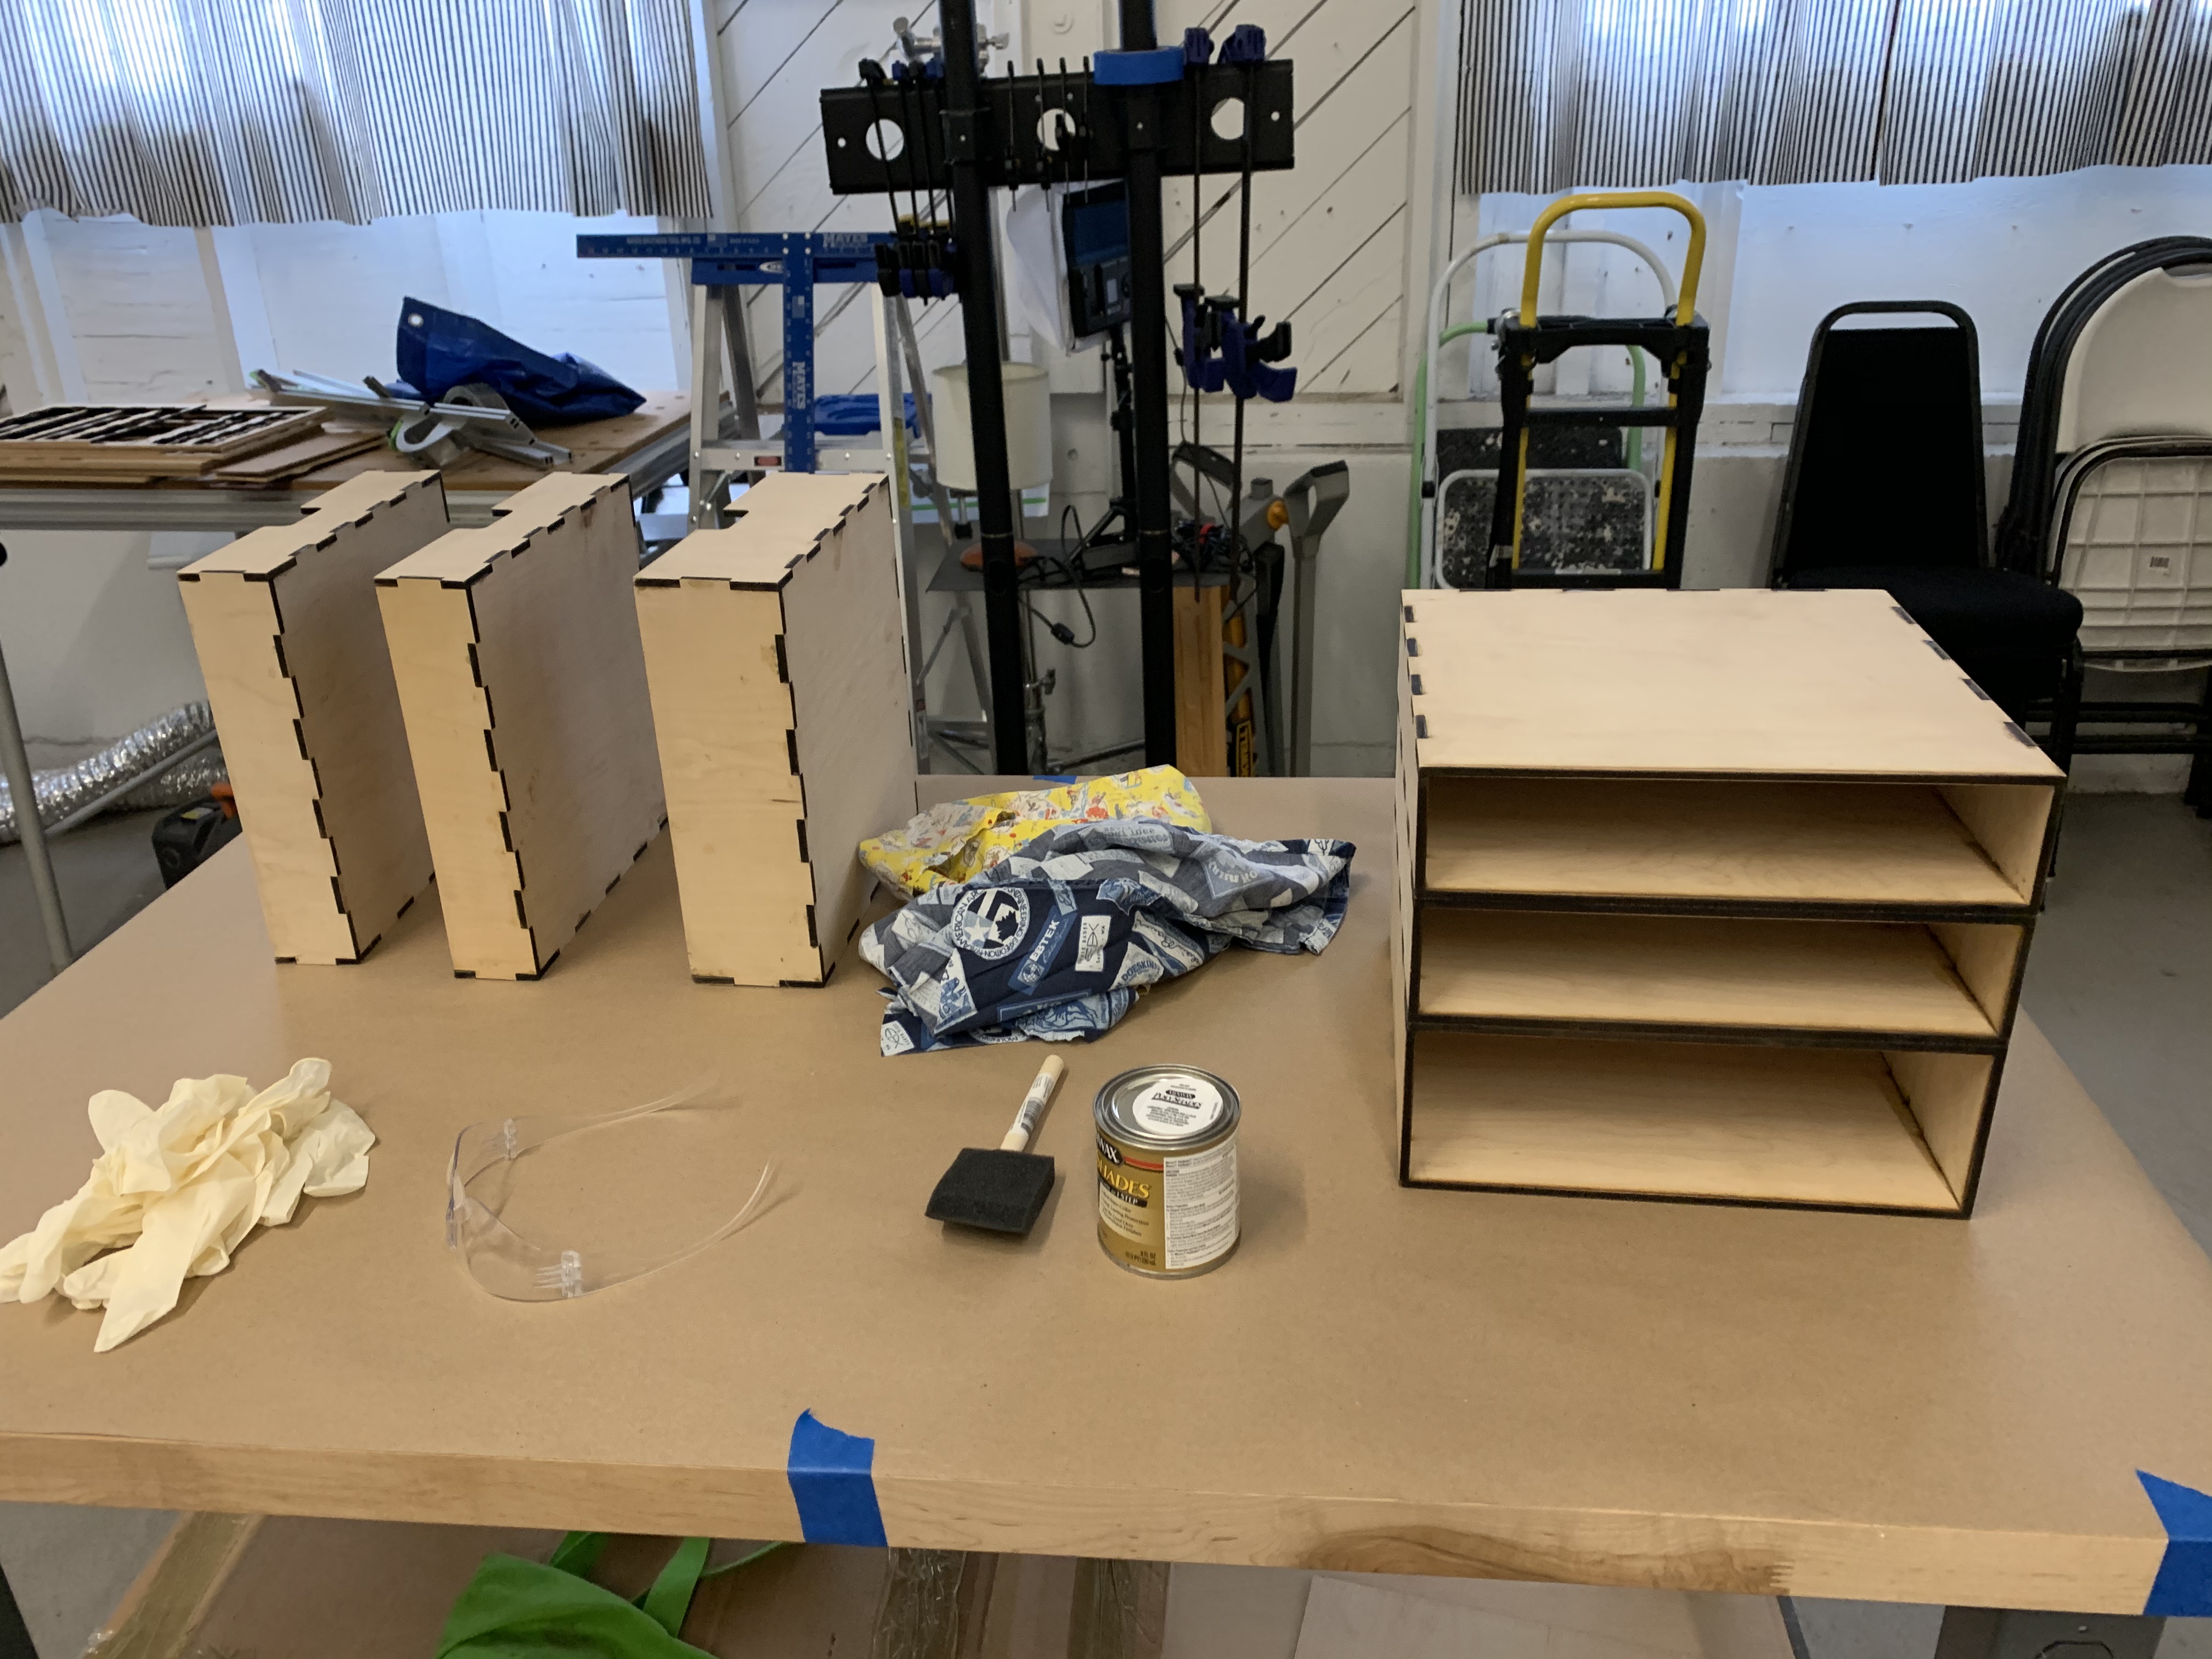
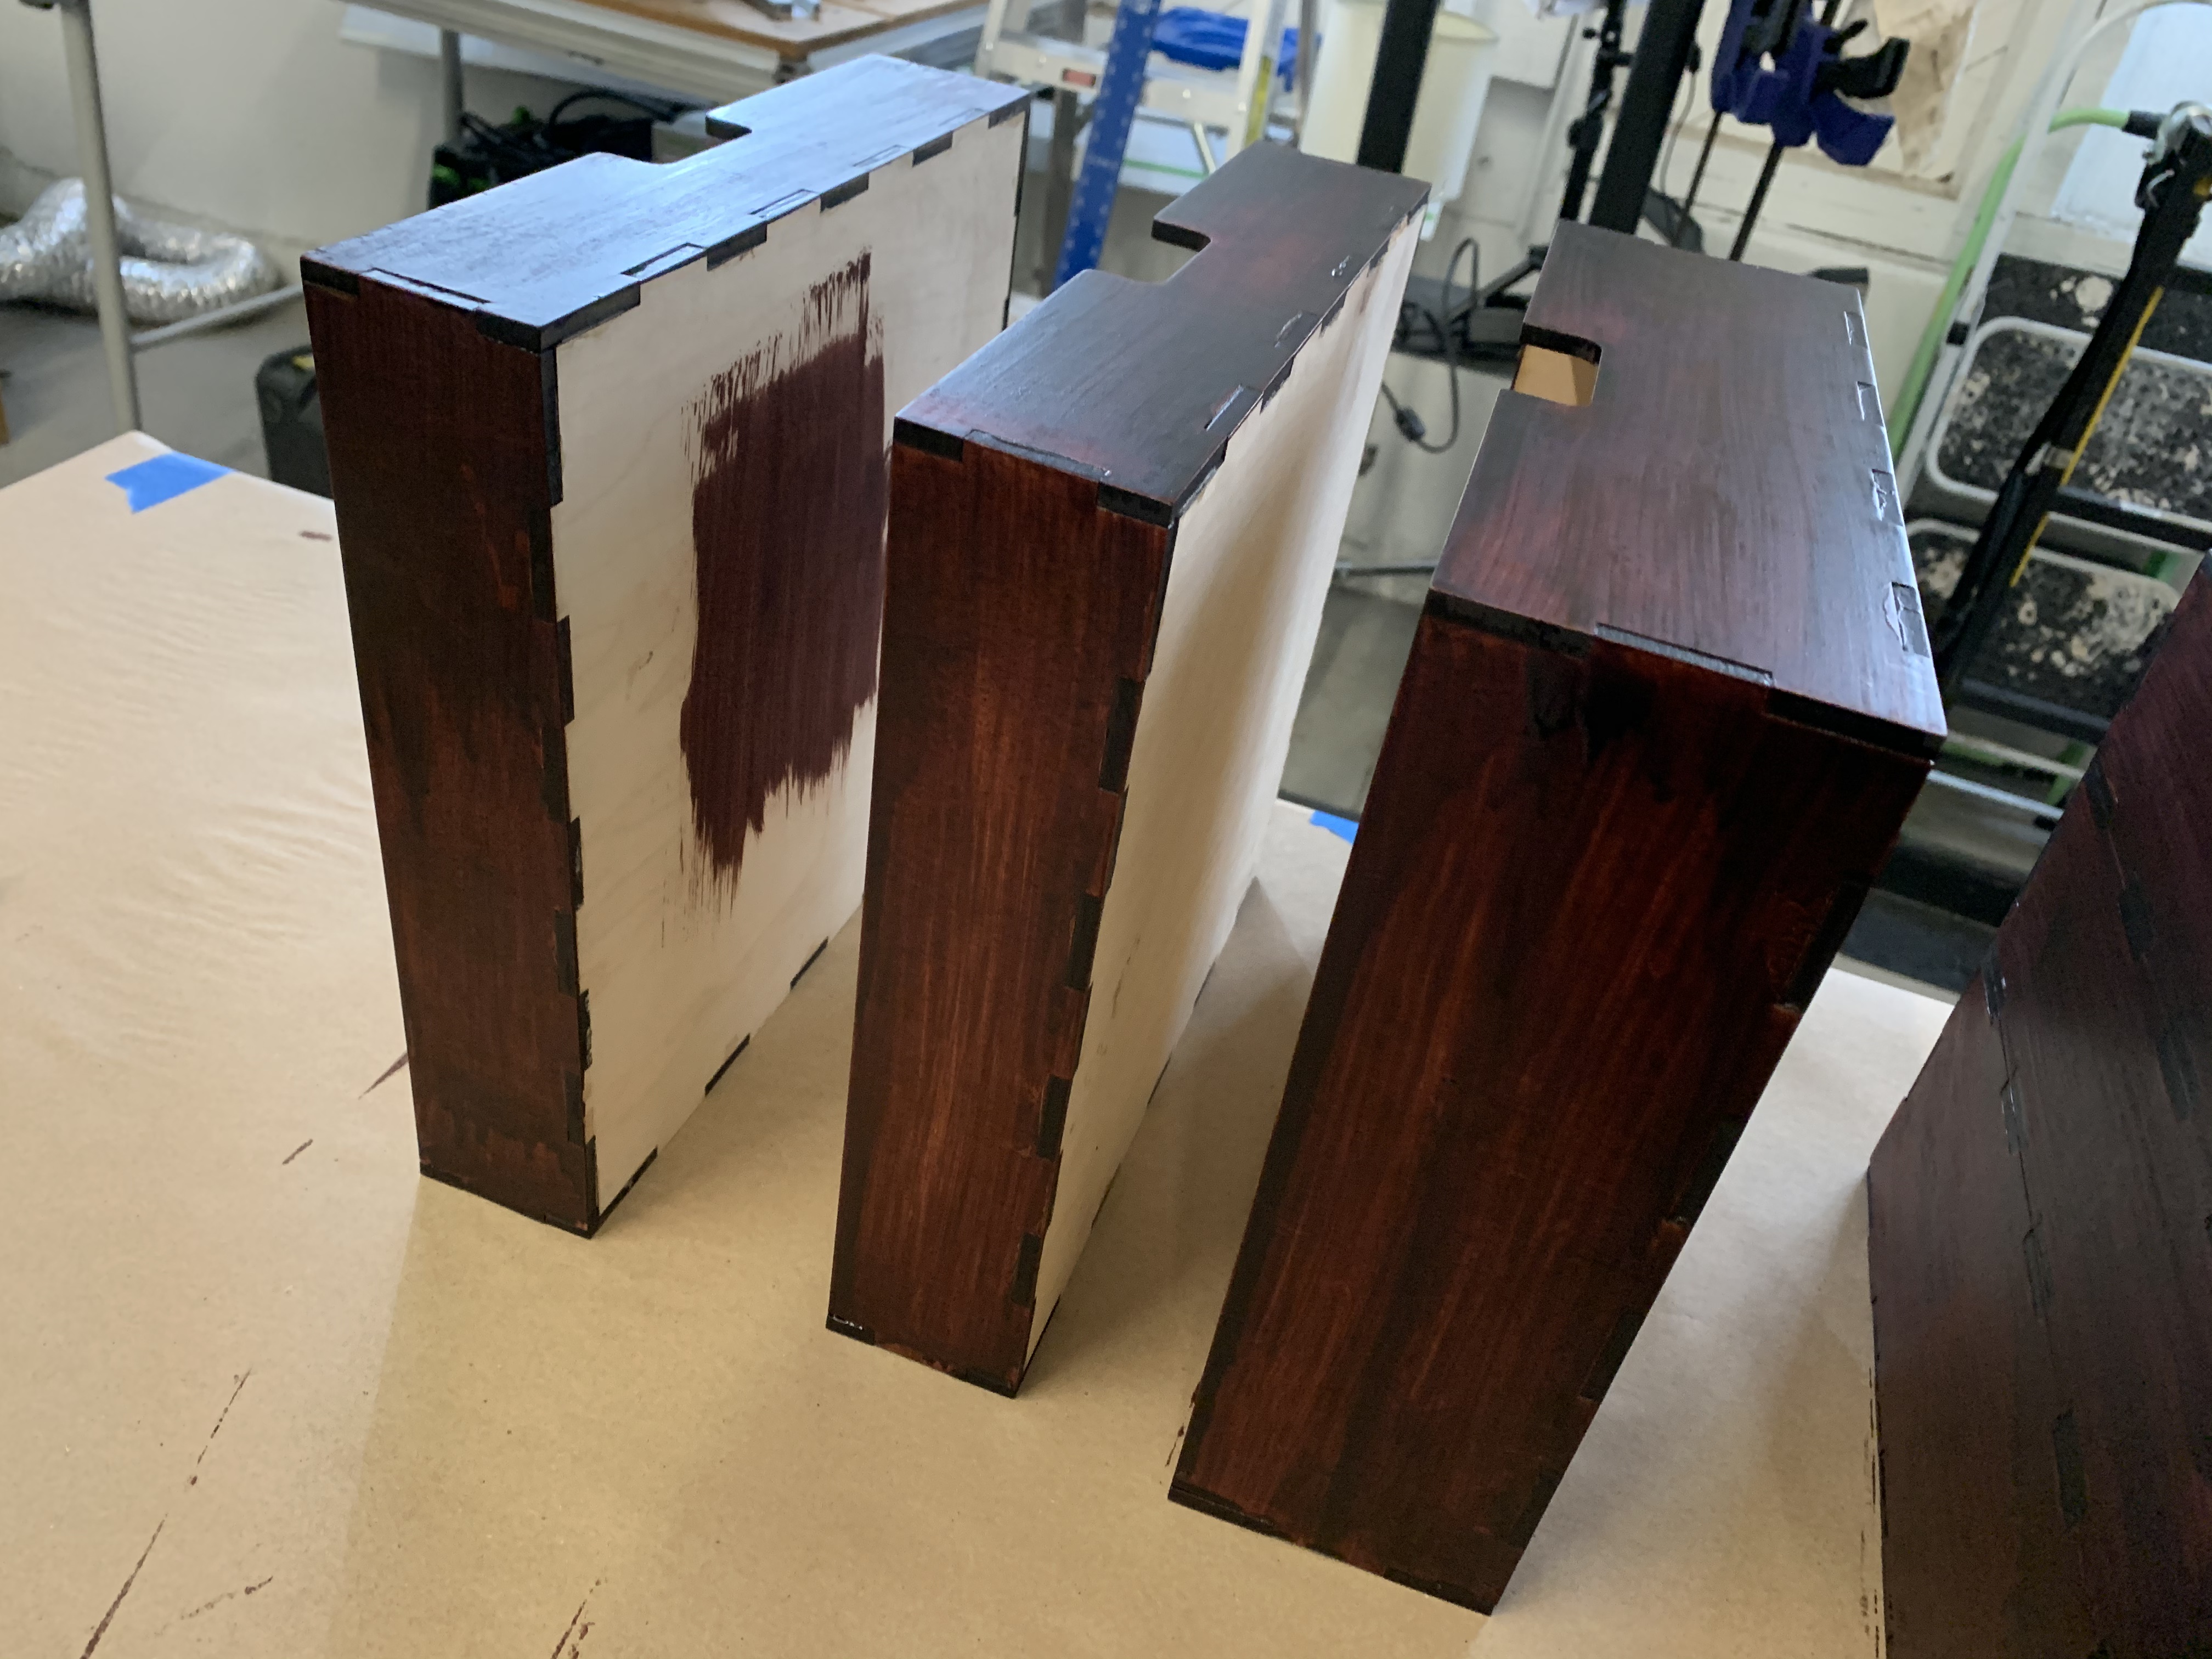
One small learning was how to create the drawer pull cutout in the Makercase generated SVG. This was easily done in Affinity Designer, which is the vector graphics tool I use. I just had to make the shape I wanted for the cutout, overlay it where I wanted it on the front panel, and use the subtract tool to remove it from the front panel.
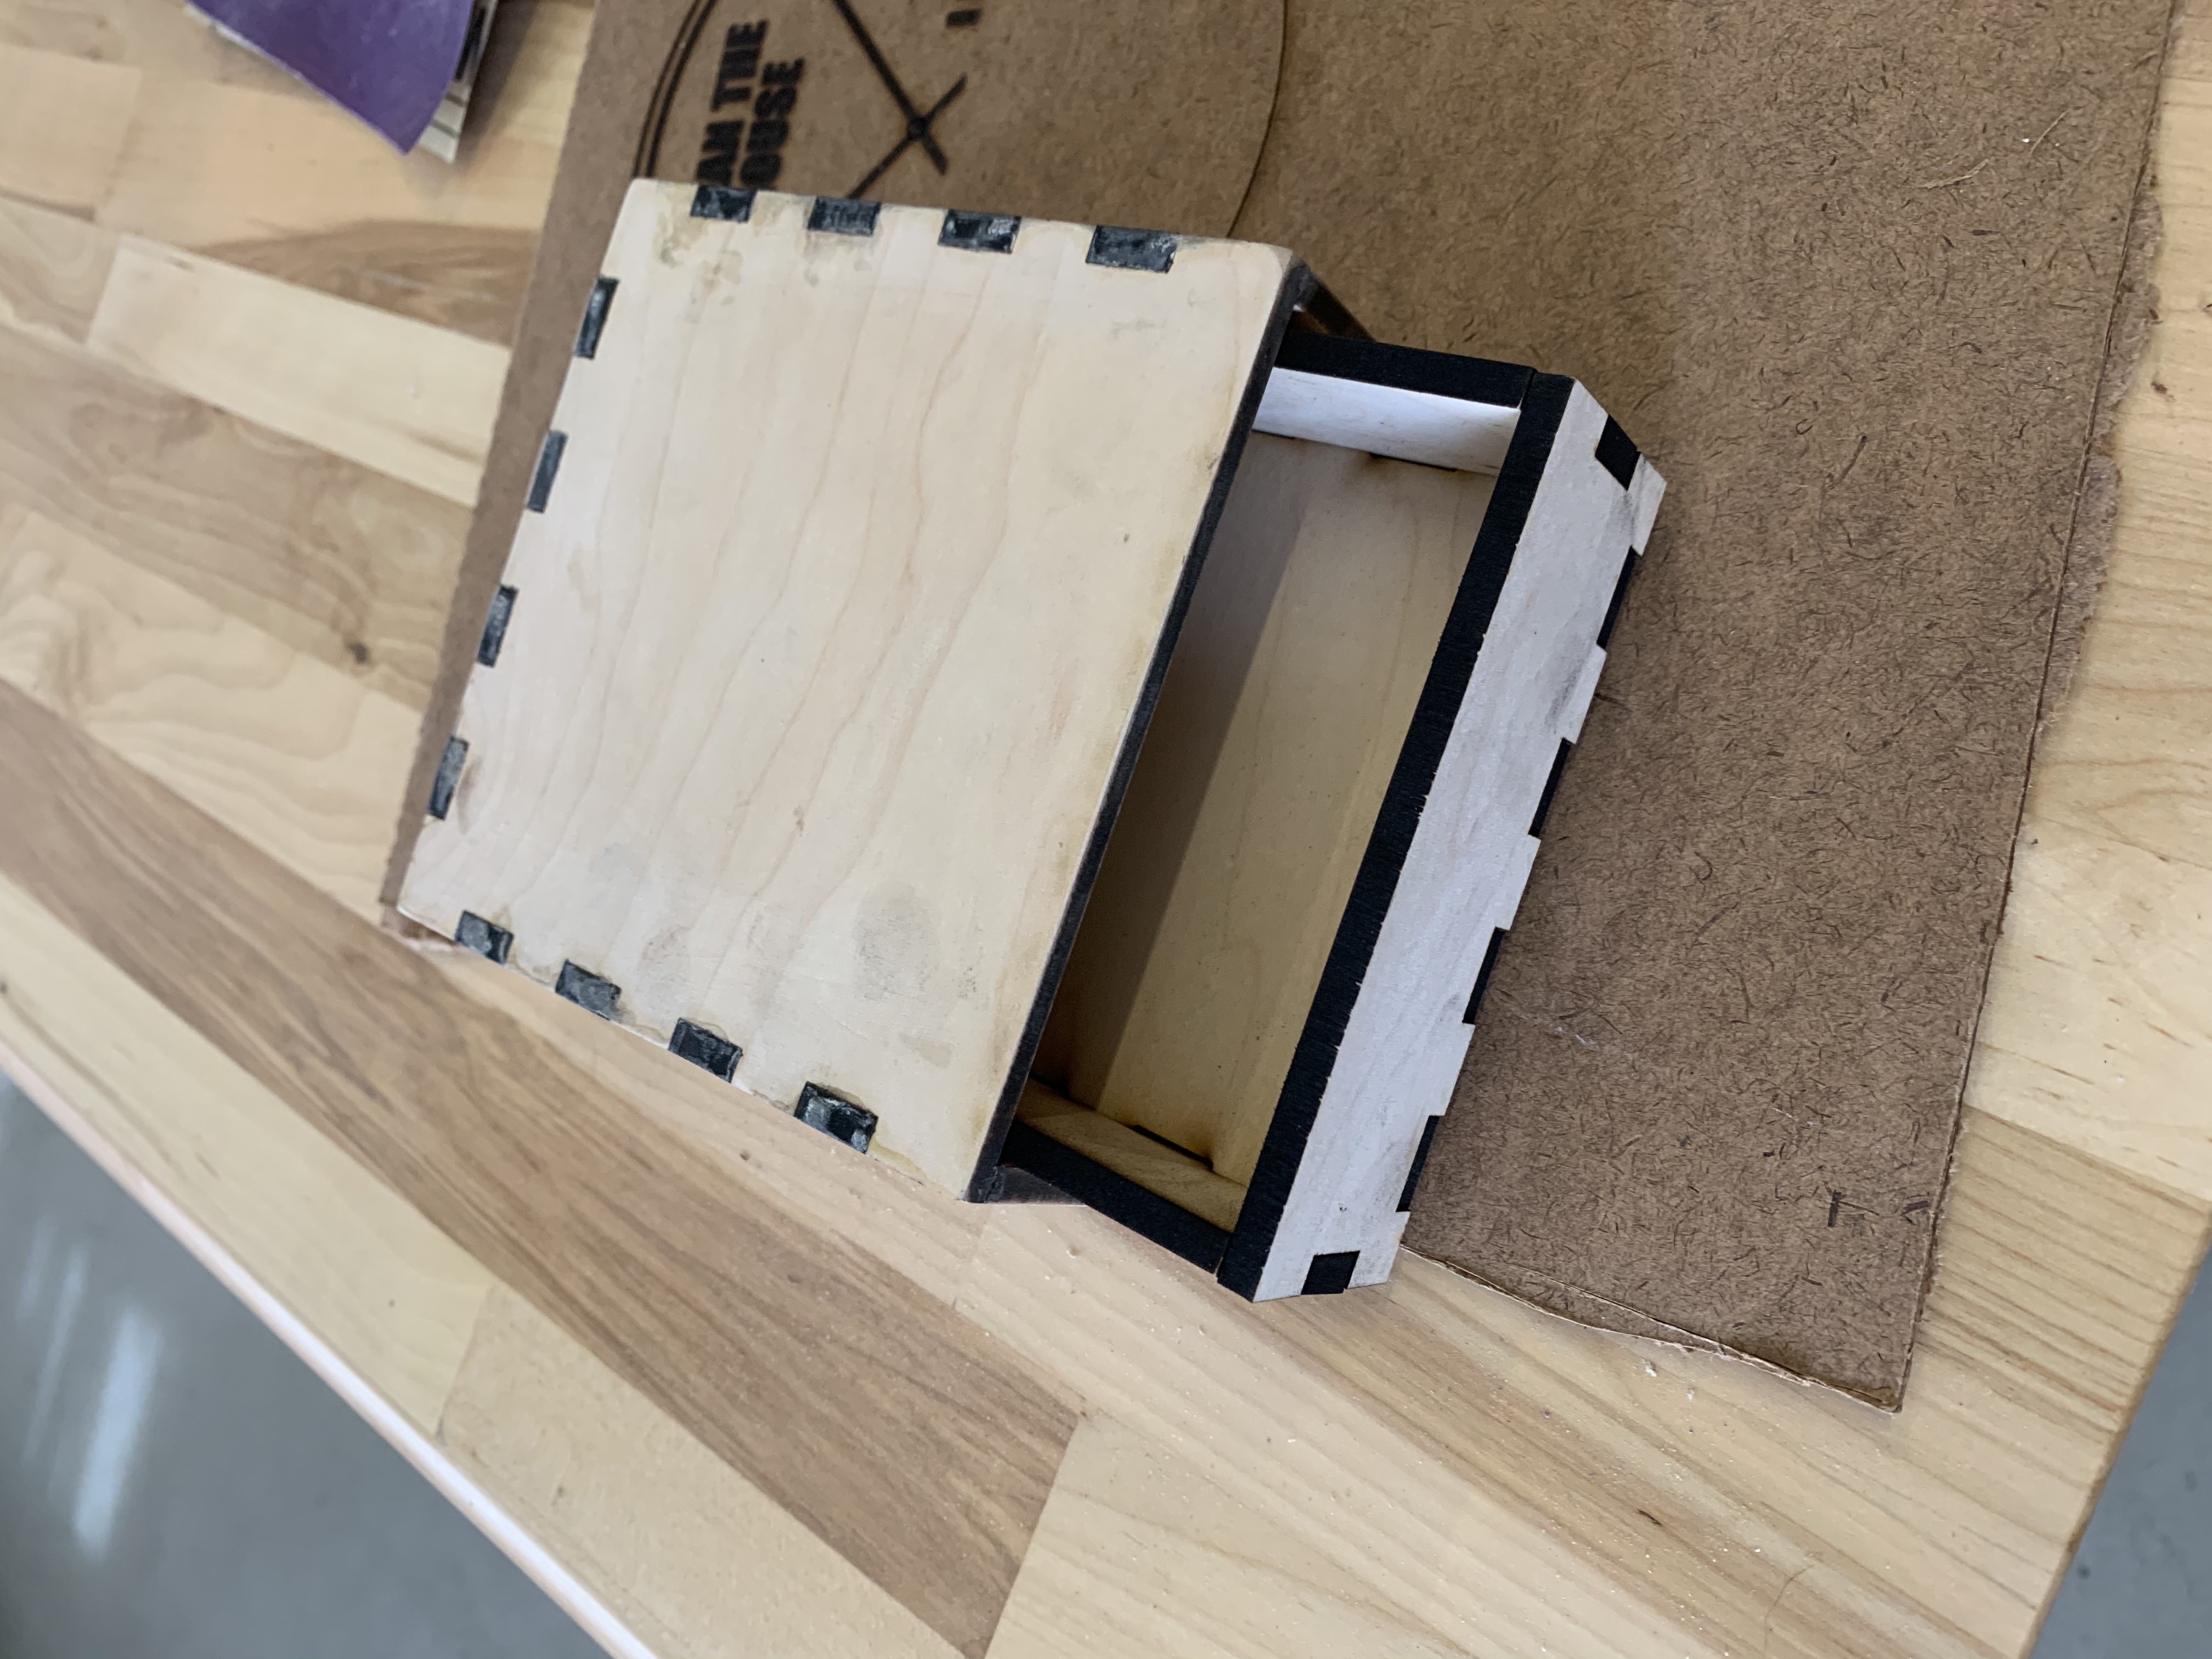
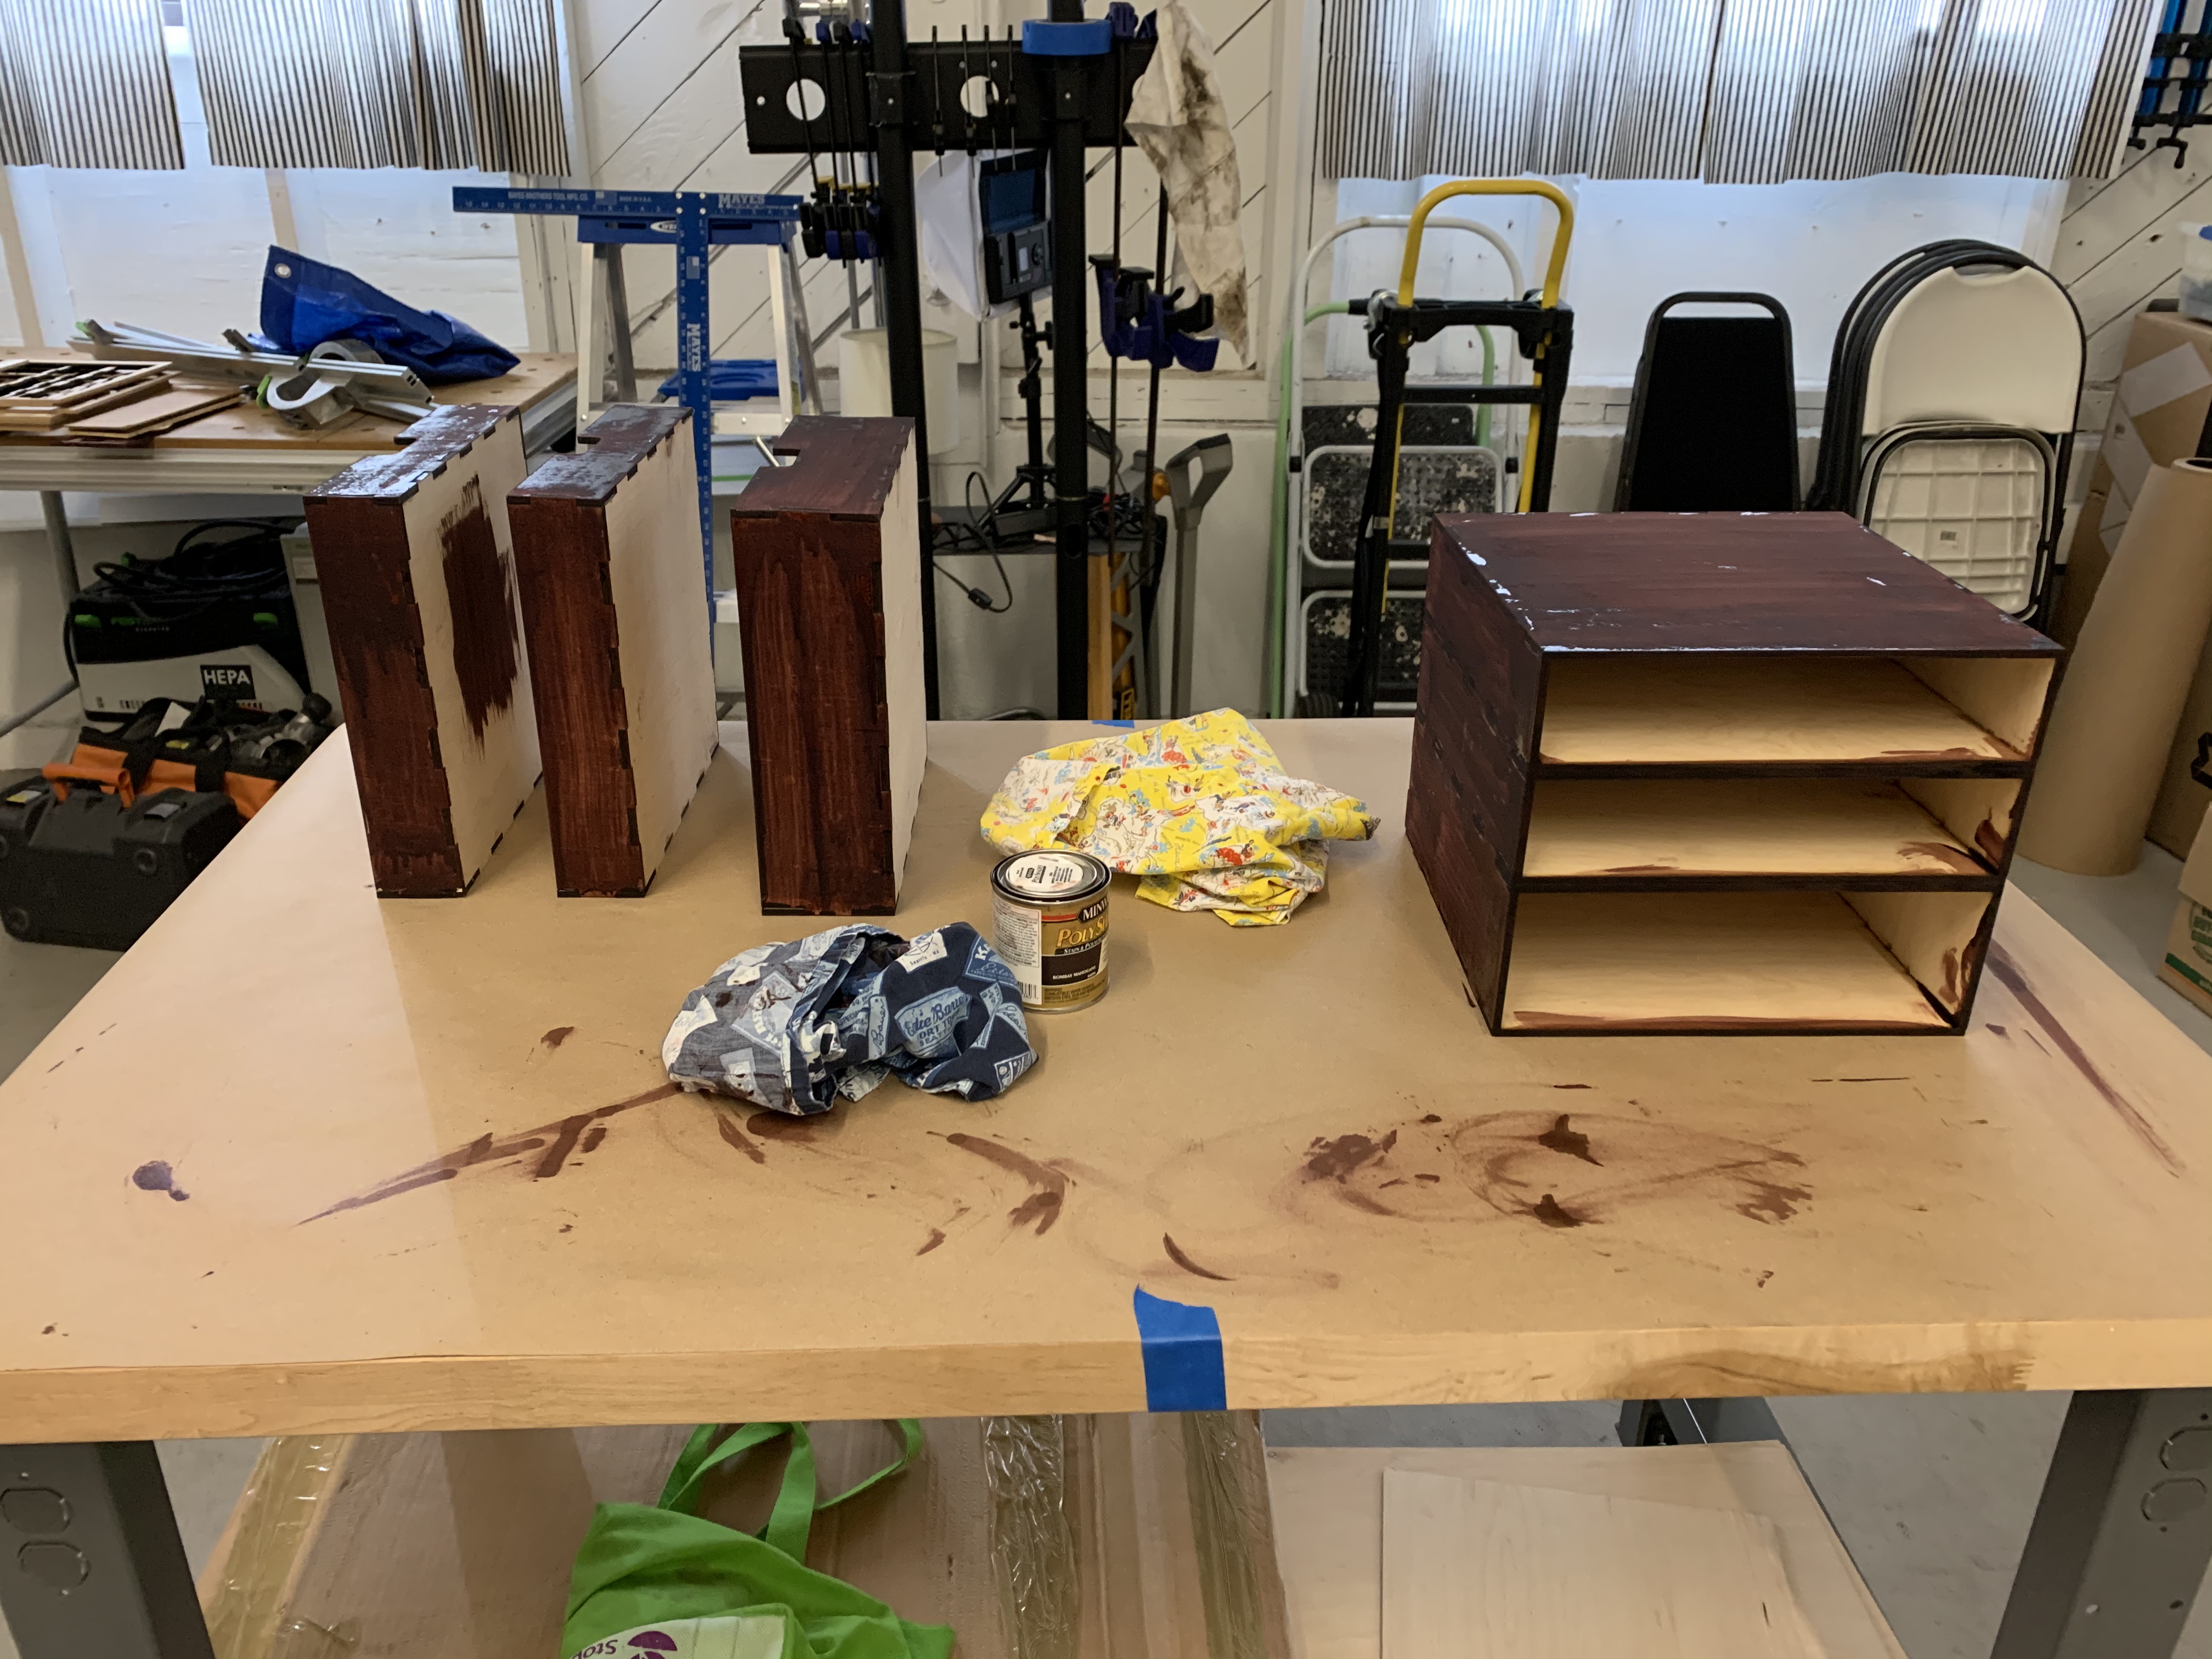
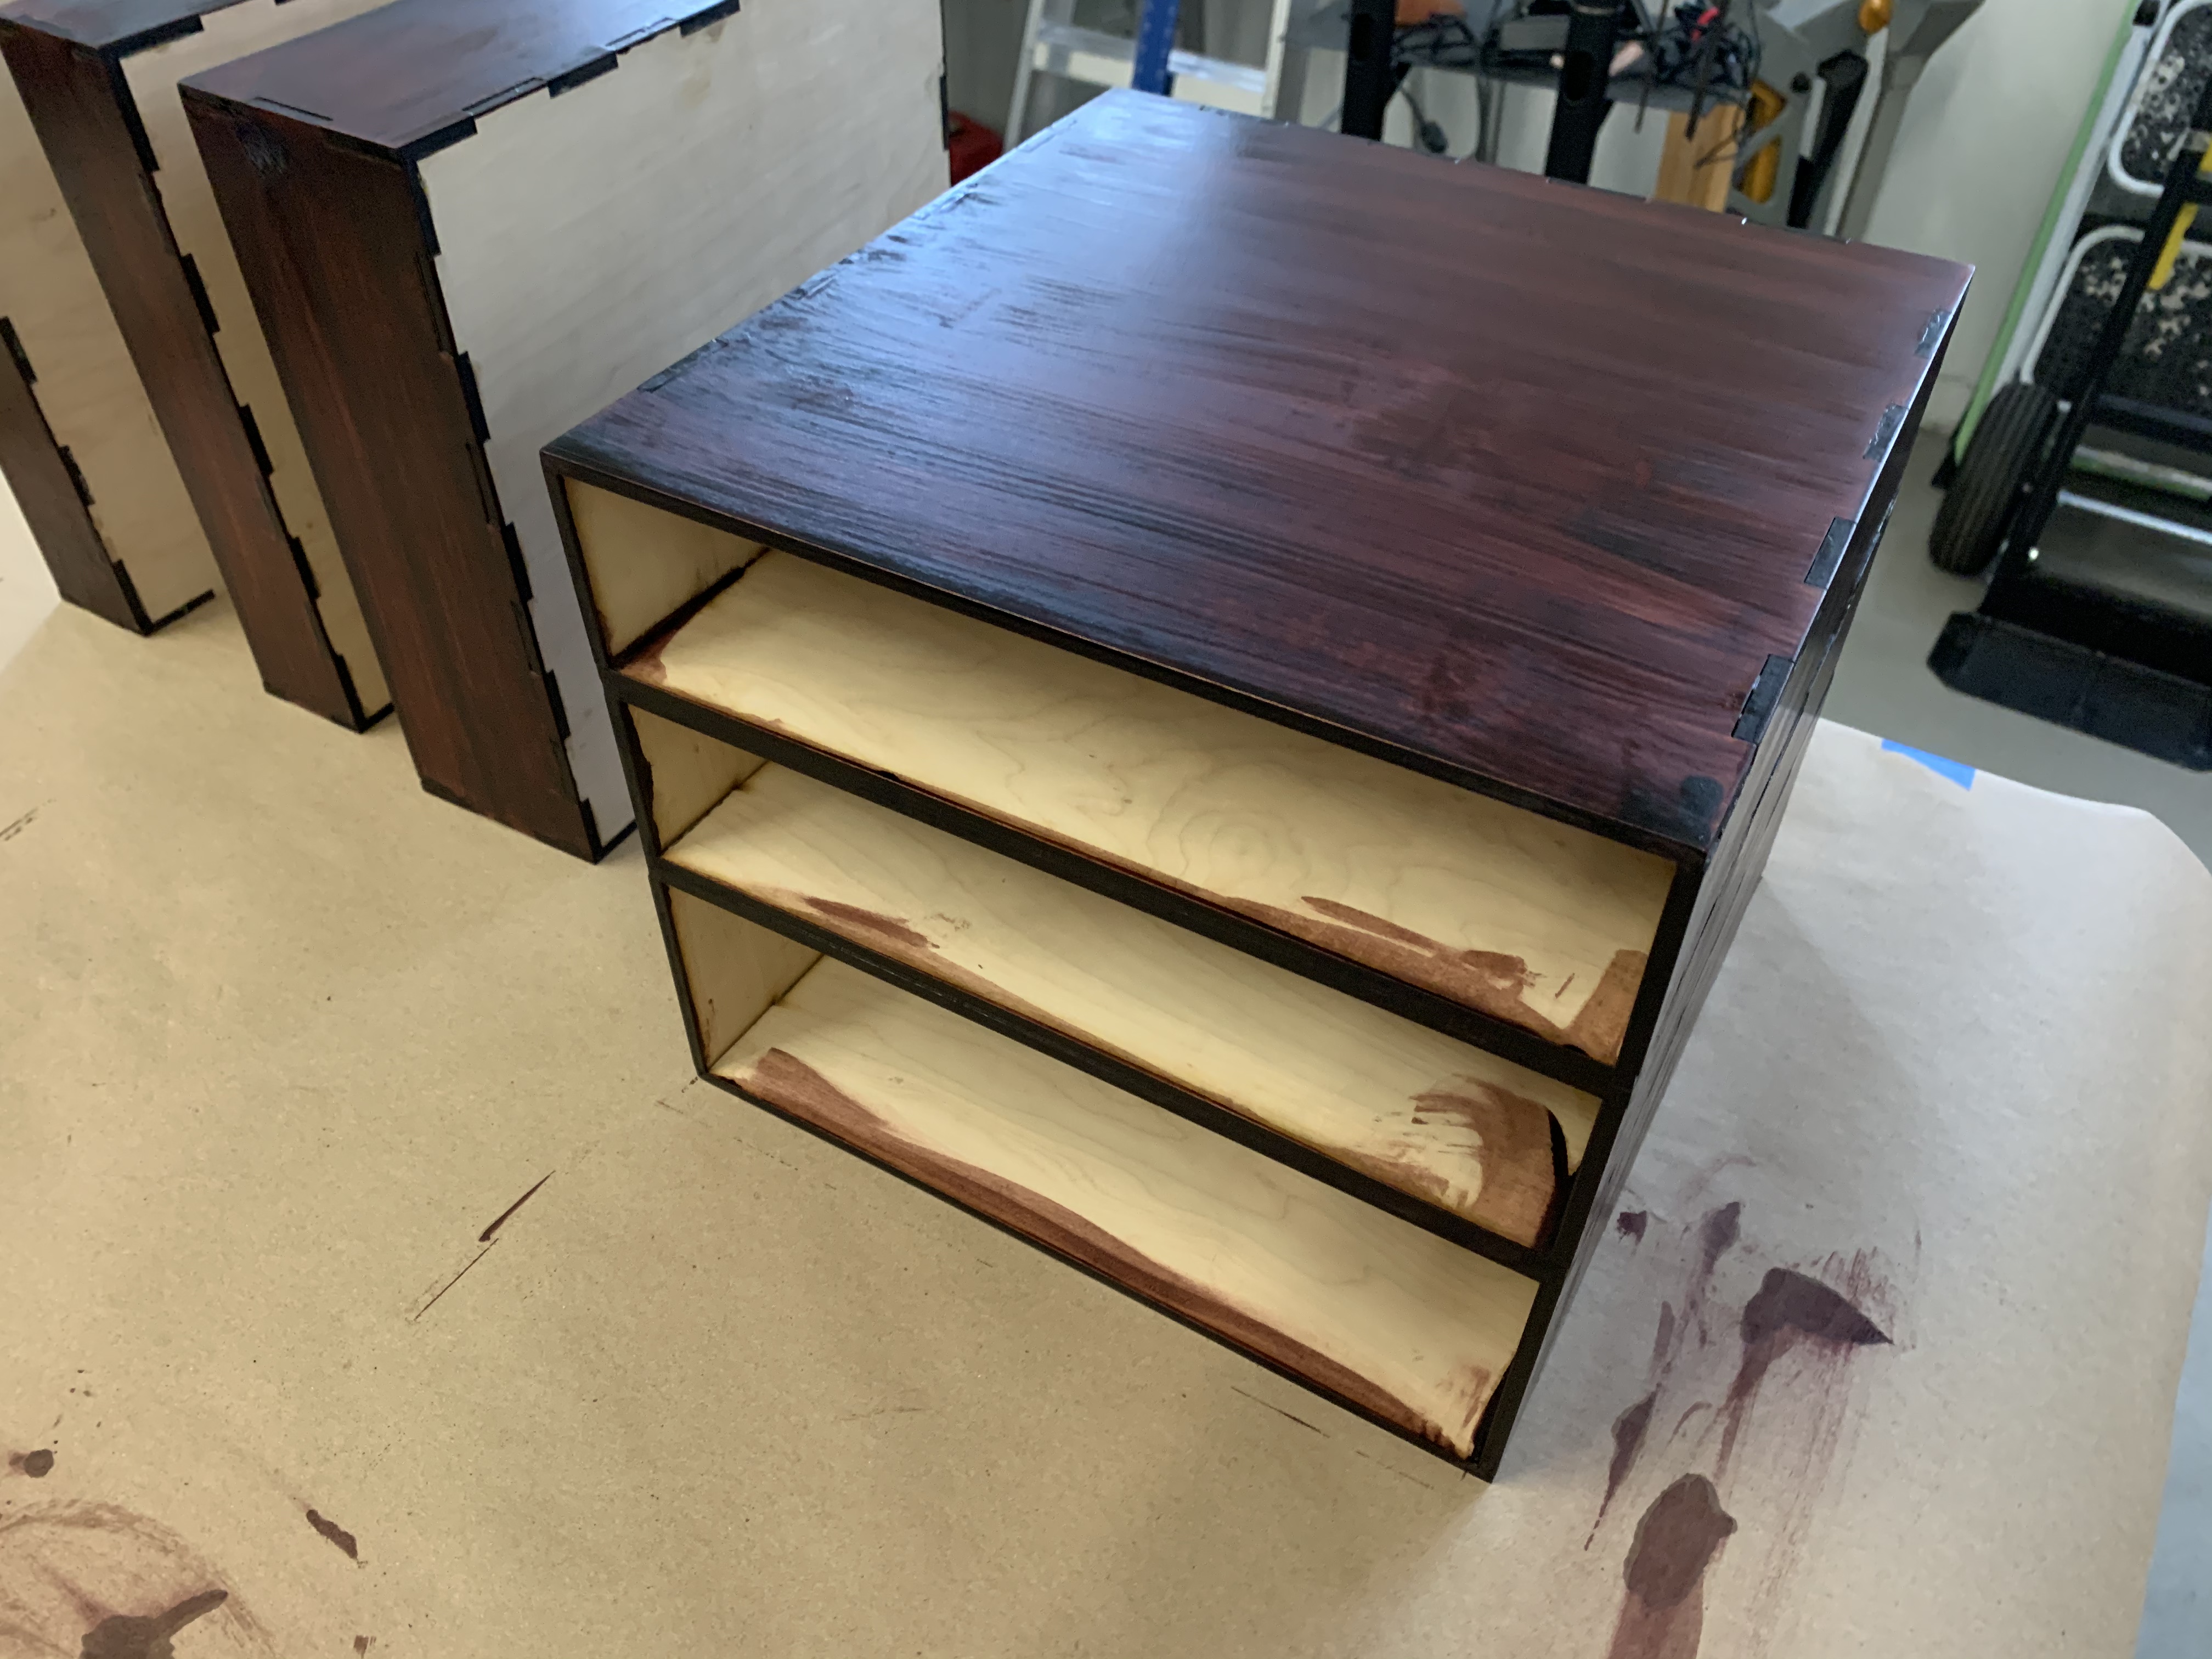
This weekend was finishing. I wanted to use a water based stain and finish with polycrylic, but my local hardware store had neither of those. I ended up getting a Minwax stain and polyurethane all-in-one product. Probably not the best choice, but this is my first time working with stain, so I didn’t really know what I was doing. I definitely applied the first coat too heavy yesterday, resulting a bunch of obvious drip marks. I gave it all a light sanding with some 000 steel wool and then cleaned with tack cloth to prep for the second coat. Tomorrow will be the big decision as to whether to do a third coat, most likely to try to hide drips and brush marks, or to call it done and bring it all home and put it to use.